Apollo Development Environment Setup
This article describes how to set up the Baidu Apollo development environment.
Introduction
Apollo is a high performance, flexible architecture which accelerates the development, testing, and deployment of Autonomous Vehicles.
This article was written on July 7, 2025, based on Apollo version 10.0.
Environment
My system environment:
- Intel(R) Core(TM) i9-14900K
- NVIDIA GeForce RTX 2080 Ti
- Ubuntu 22.04.5 LTS
Please install Docker Engine and GPU support yourself. You may refer to the Docker official documentation and Apollo Installation Guide[1].
Package Management Installation
Install Apollo Environment Manager
Apollo Environment Manager is a command-line tool that helps manage and launch Apollo environments.
1. Install required dependencies
1 | |
2. Add Apollo software source GPG key and configure source
1 | |
3. Install aem
1 | |
After installation, you can use:
1 | |
Install Example Project
1. Select an example project
Apollo currently provides 3 example projects. You can choose one as needed:
application-core: contains all open-source Apollo packages, suitable for building your own application.
application-pnc: contains only planning and control packages, suitable for users focusing on that area.
application-perception: contains only perception-related packages.
Alternatively, you can use the full Apollo source project: apollo
Note: Starting from Apollo 10.0, both source and package modes use the same build tool. It is recommended to use the unified build commands below. Scripts such as dev_start.sh, dev_into.sh, apollo.sh are no longer recommended.
2. Clone the project
Taking application-core as an example:
1 | |
3. Start and enter the Apollo environment
1 | |
Note: In host mode, subsequent operations are the same as in container mode. You can later run aem enter in the project root to enter the environment, either as a docker container or an Apollo bash shell.
4. Install packages
The example project includes a core directory with core/cyberfile.xml that describes dependencies to install:
1 | |
This command builds the
corepackage. Since it contains no source code, this step only installs dependencies fromcore/cyberfile.xml.Note: New buildtool versions use –opt –gpu by default (if GPU is available). Use –dbg for gdb debugging.
You might encounter permission errors:
1 | |
Use sudo chmod 777 tools/proto/proto.bzl to resolve. Repeat for other files as needed.
5. Select vehicle profile
The profiles/sample directory provides an official config with 1 radar and 2 cameras. You can create your own vehicle profile based on this. To apply a profile:
1 | |
6. Play record data
Get map for the record
1 | |
Starting with version 9.0.0-rc-r10, map data is no longer bundled and must be downloaded separately. Use buildtool map list to view all available maps.
Launch Dreamview+
1 | |
Other steps can be found in the Play Record section below.
Source Code Installation
Download and Install Apollo Source Code
1. Clone Apollo source code
Execute the following commands to clone Apollo source code:
1 | |
Check out to the latest branch:
1 | |
2. Start Apollo environment container
In the apollo directory, enter the following command to start the environment container:
Note: If your graphics card is RTX 40 series and you have properly installed the drivers, refer to RTX 40 series image support for operations.
1 | |
After successful operation, you will see the following output:
1 | |
3. Enter Apollo environment container
In the apollo directory, enter the following command to enter the container:
1 | |
4. Build
In the /apollo directory inside the container, execute the following command to build the entire project:
1 | |
If you need to enable build optimization, use the following command:
1 | |
5. Start Apollo for record playback verification
Launch Dreamview+
1 | |
Other steps can be found in the Play Record section below.
Play Record
Get the record
1 | |
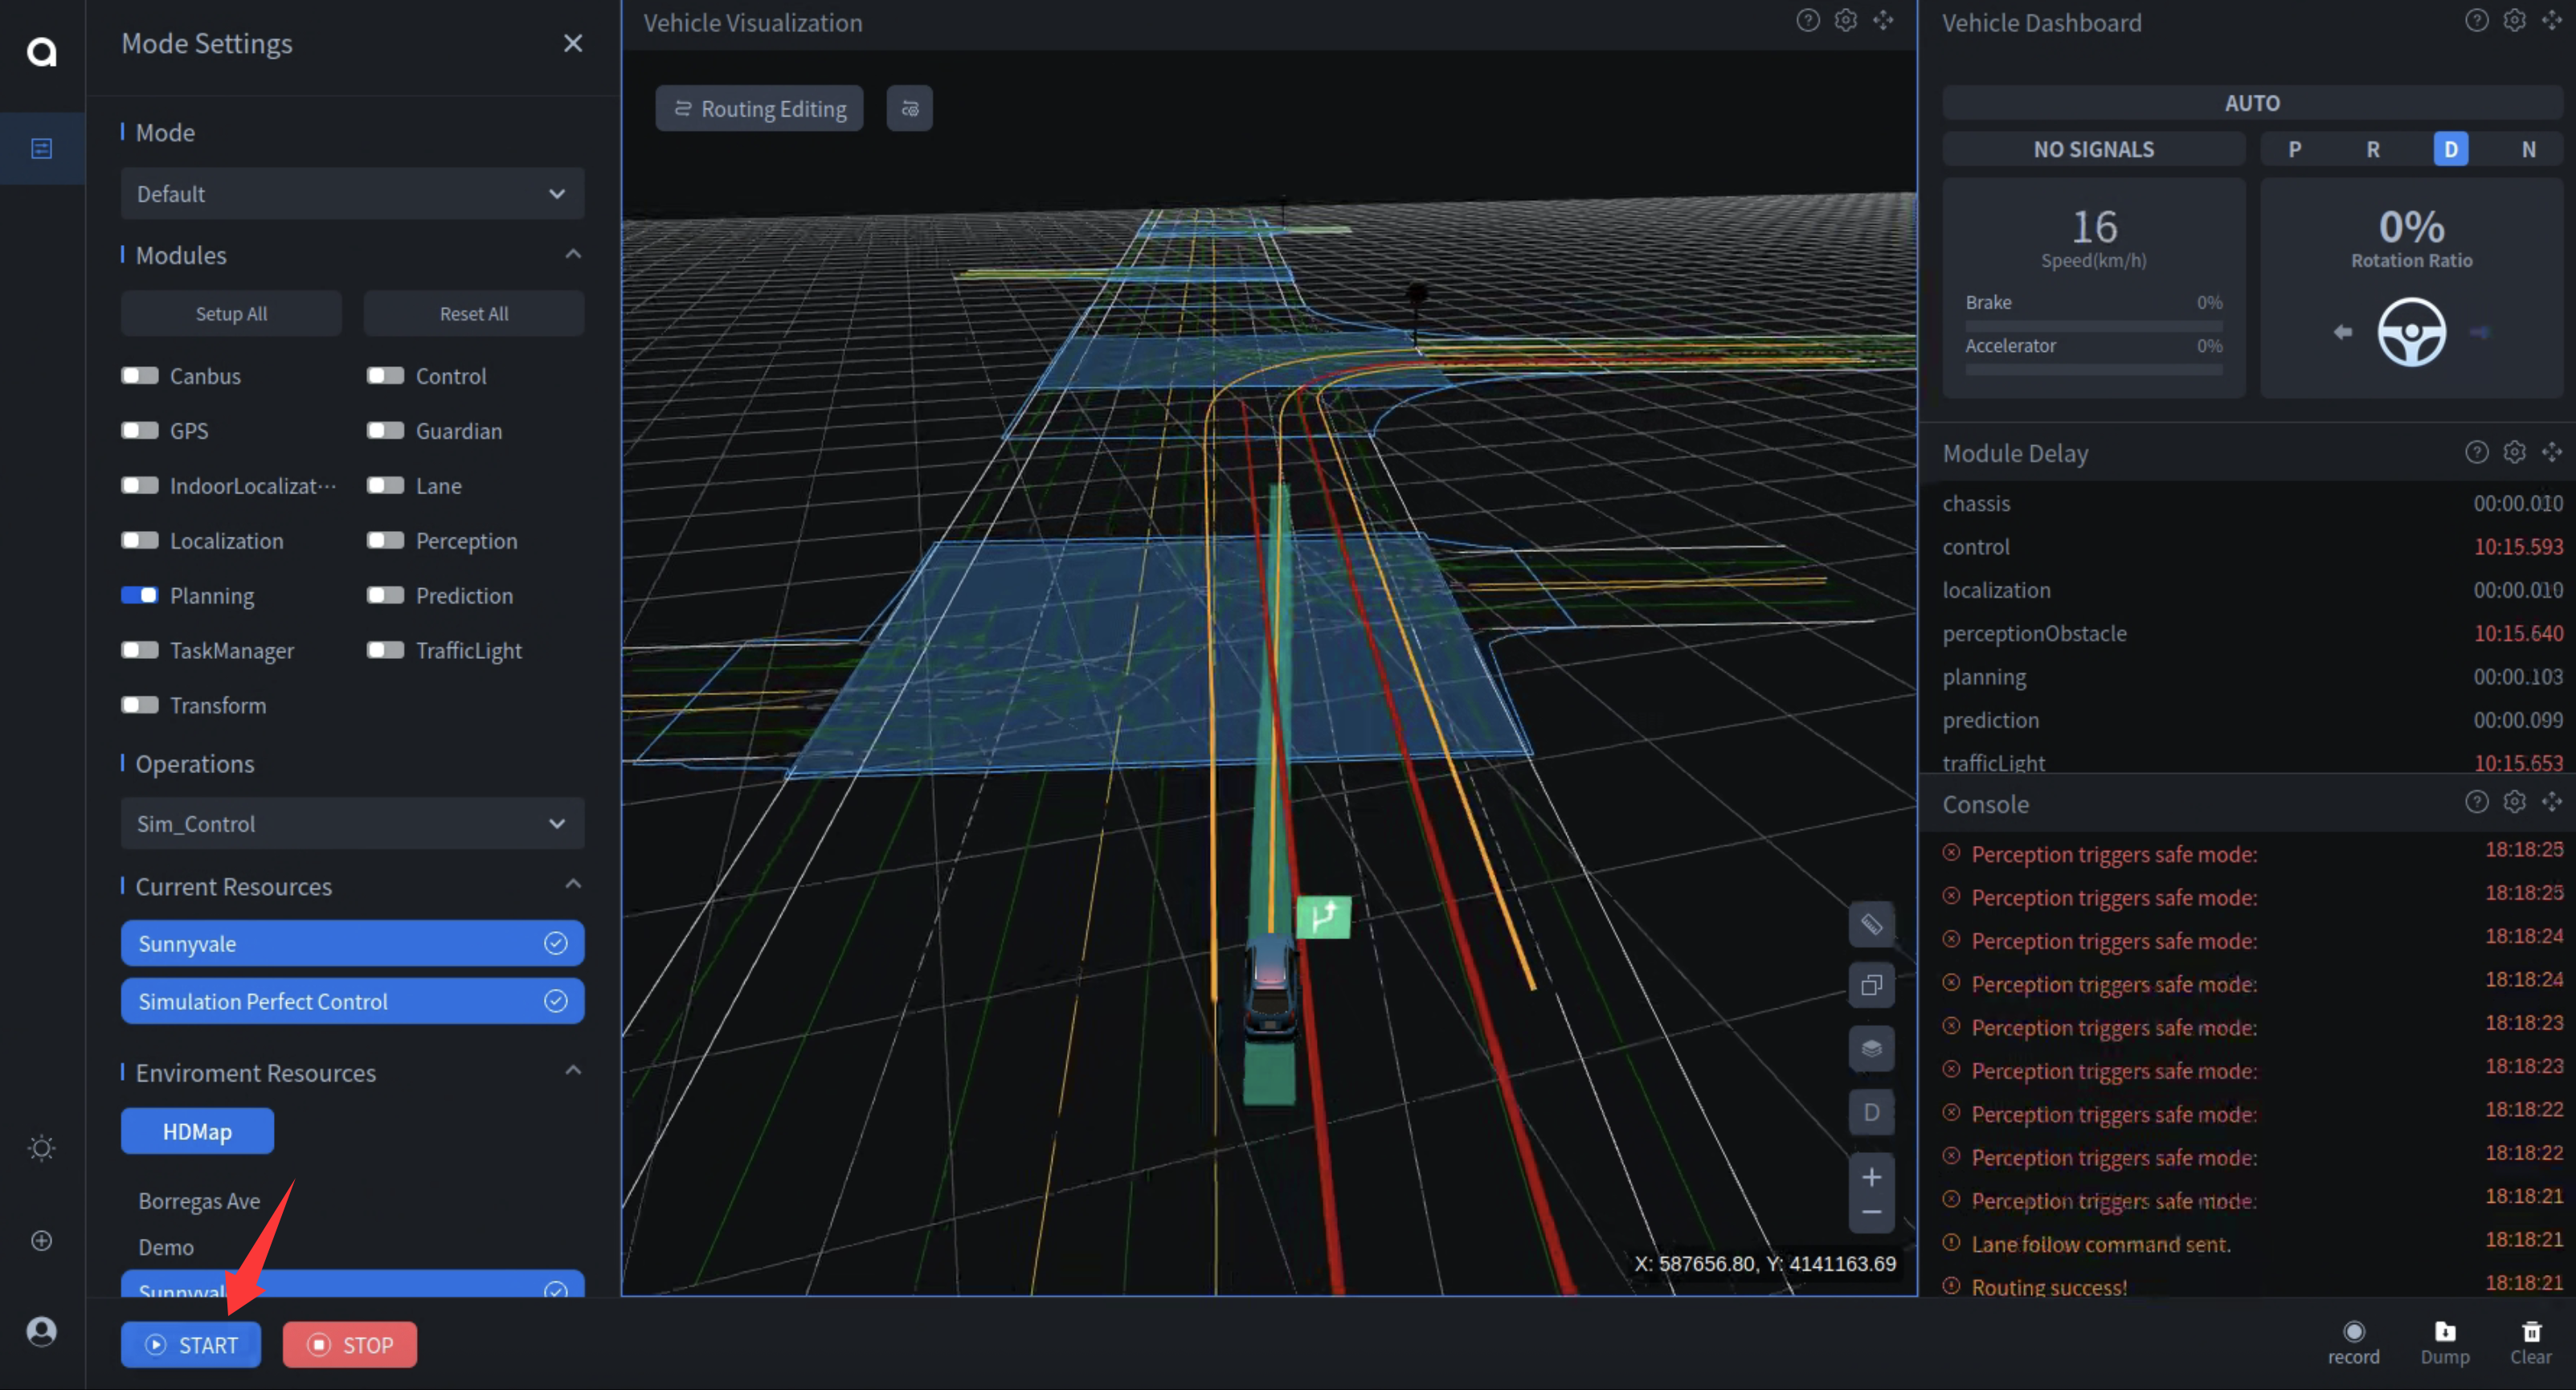
Play record in Dreamview+
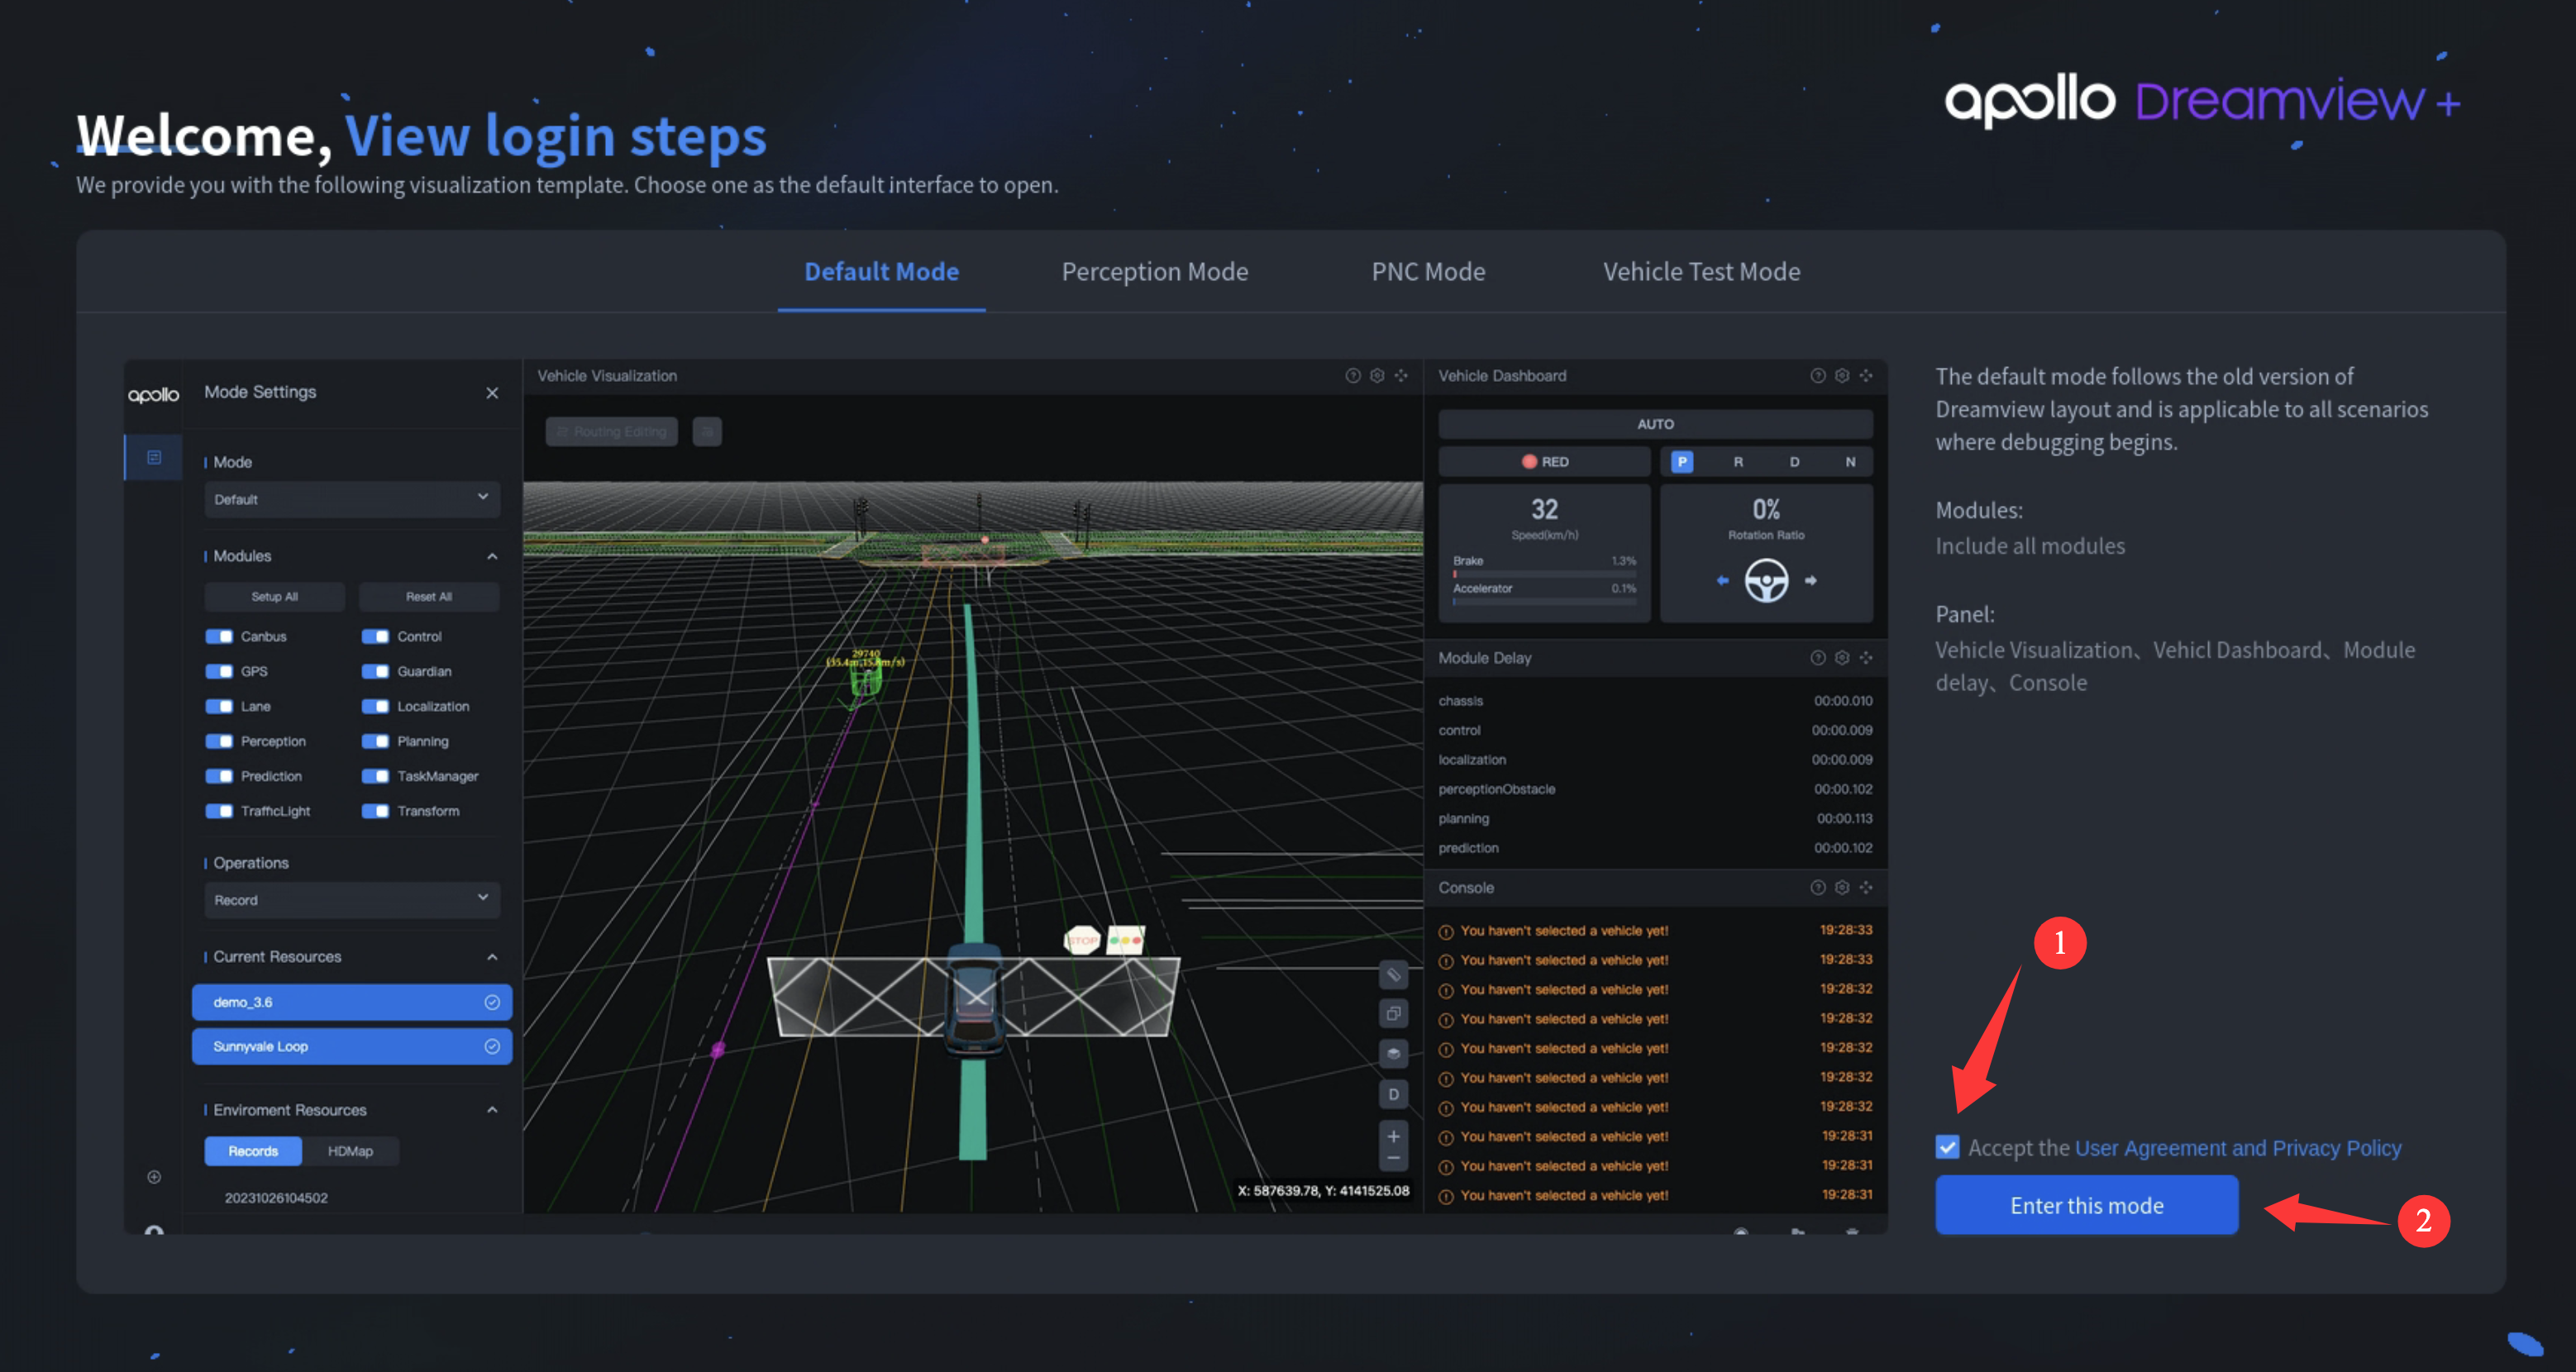
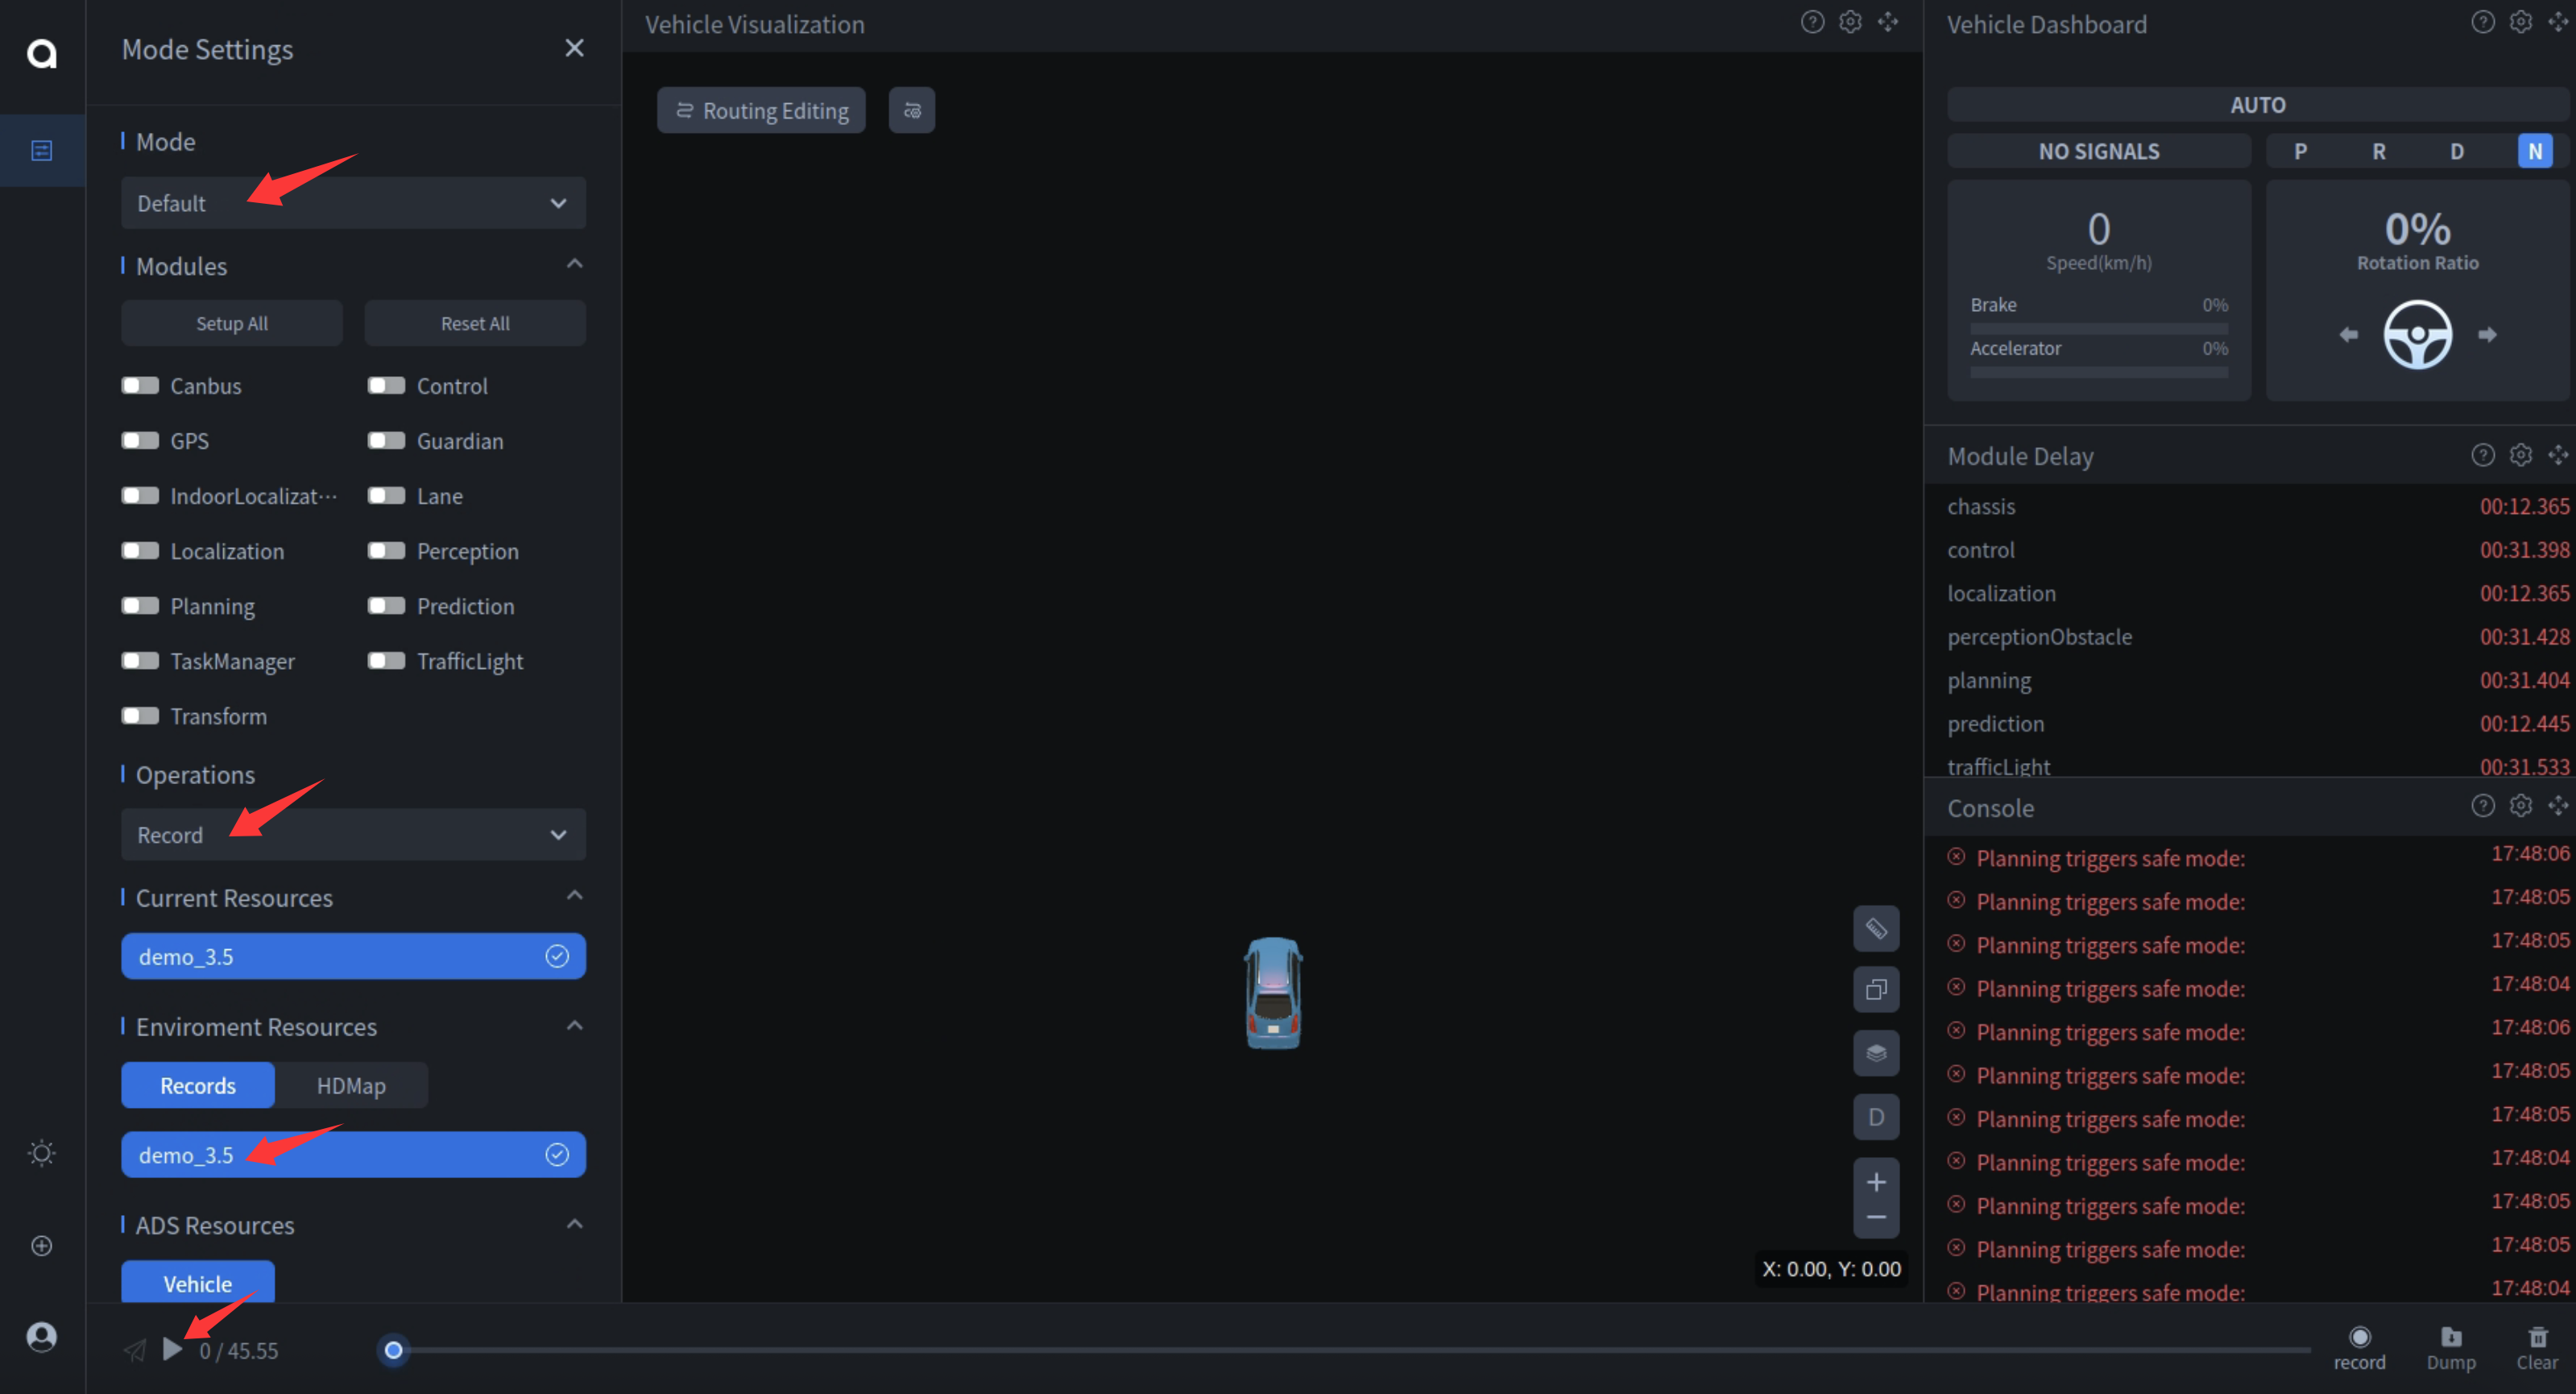
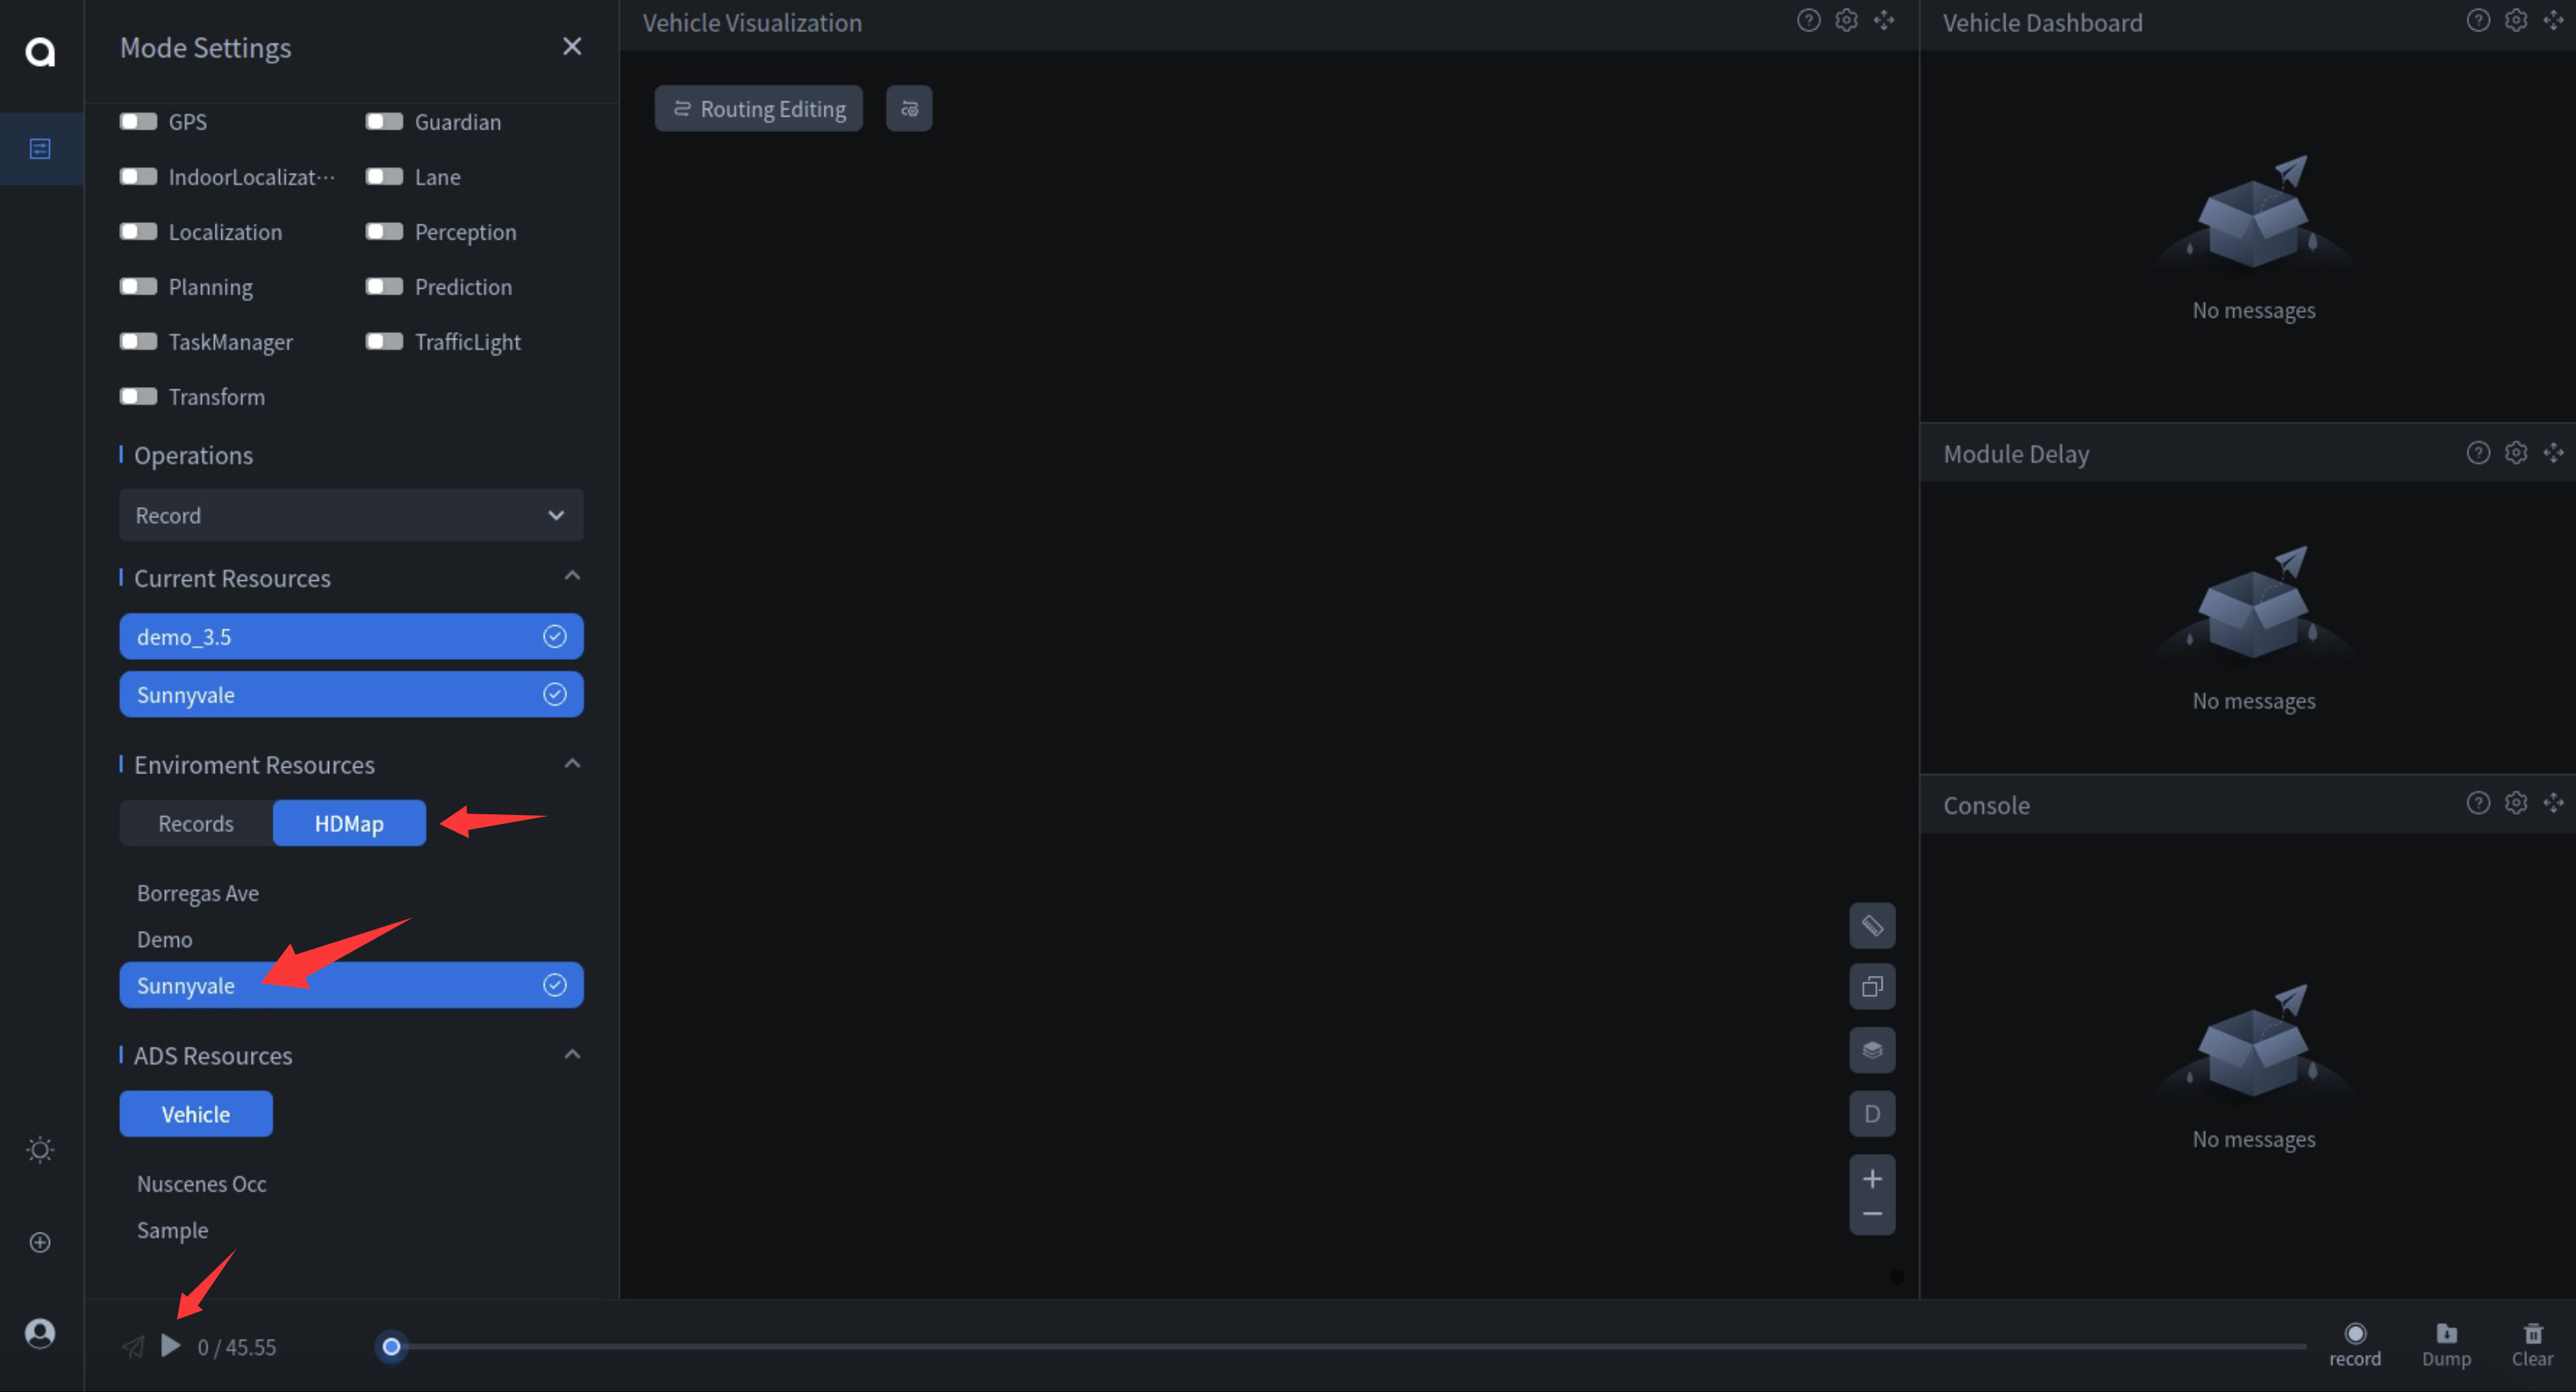
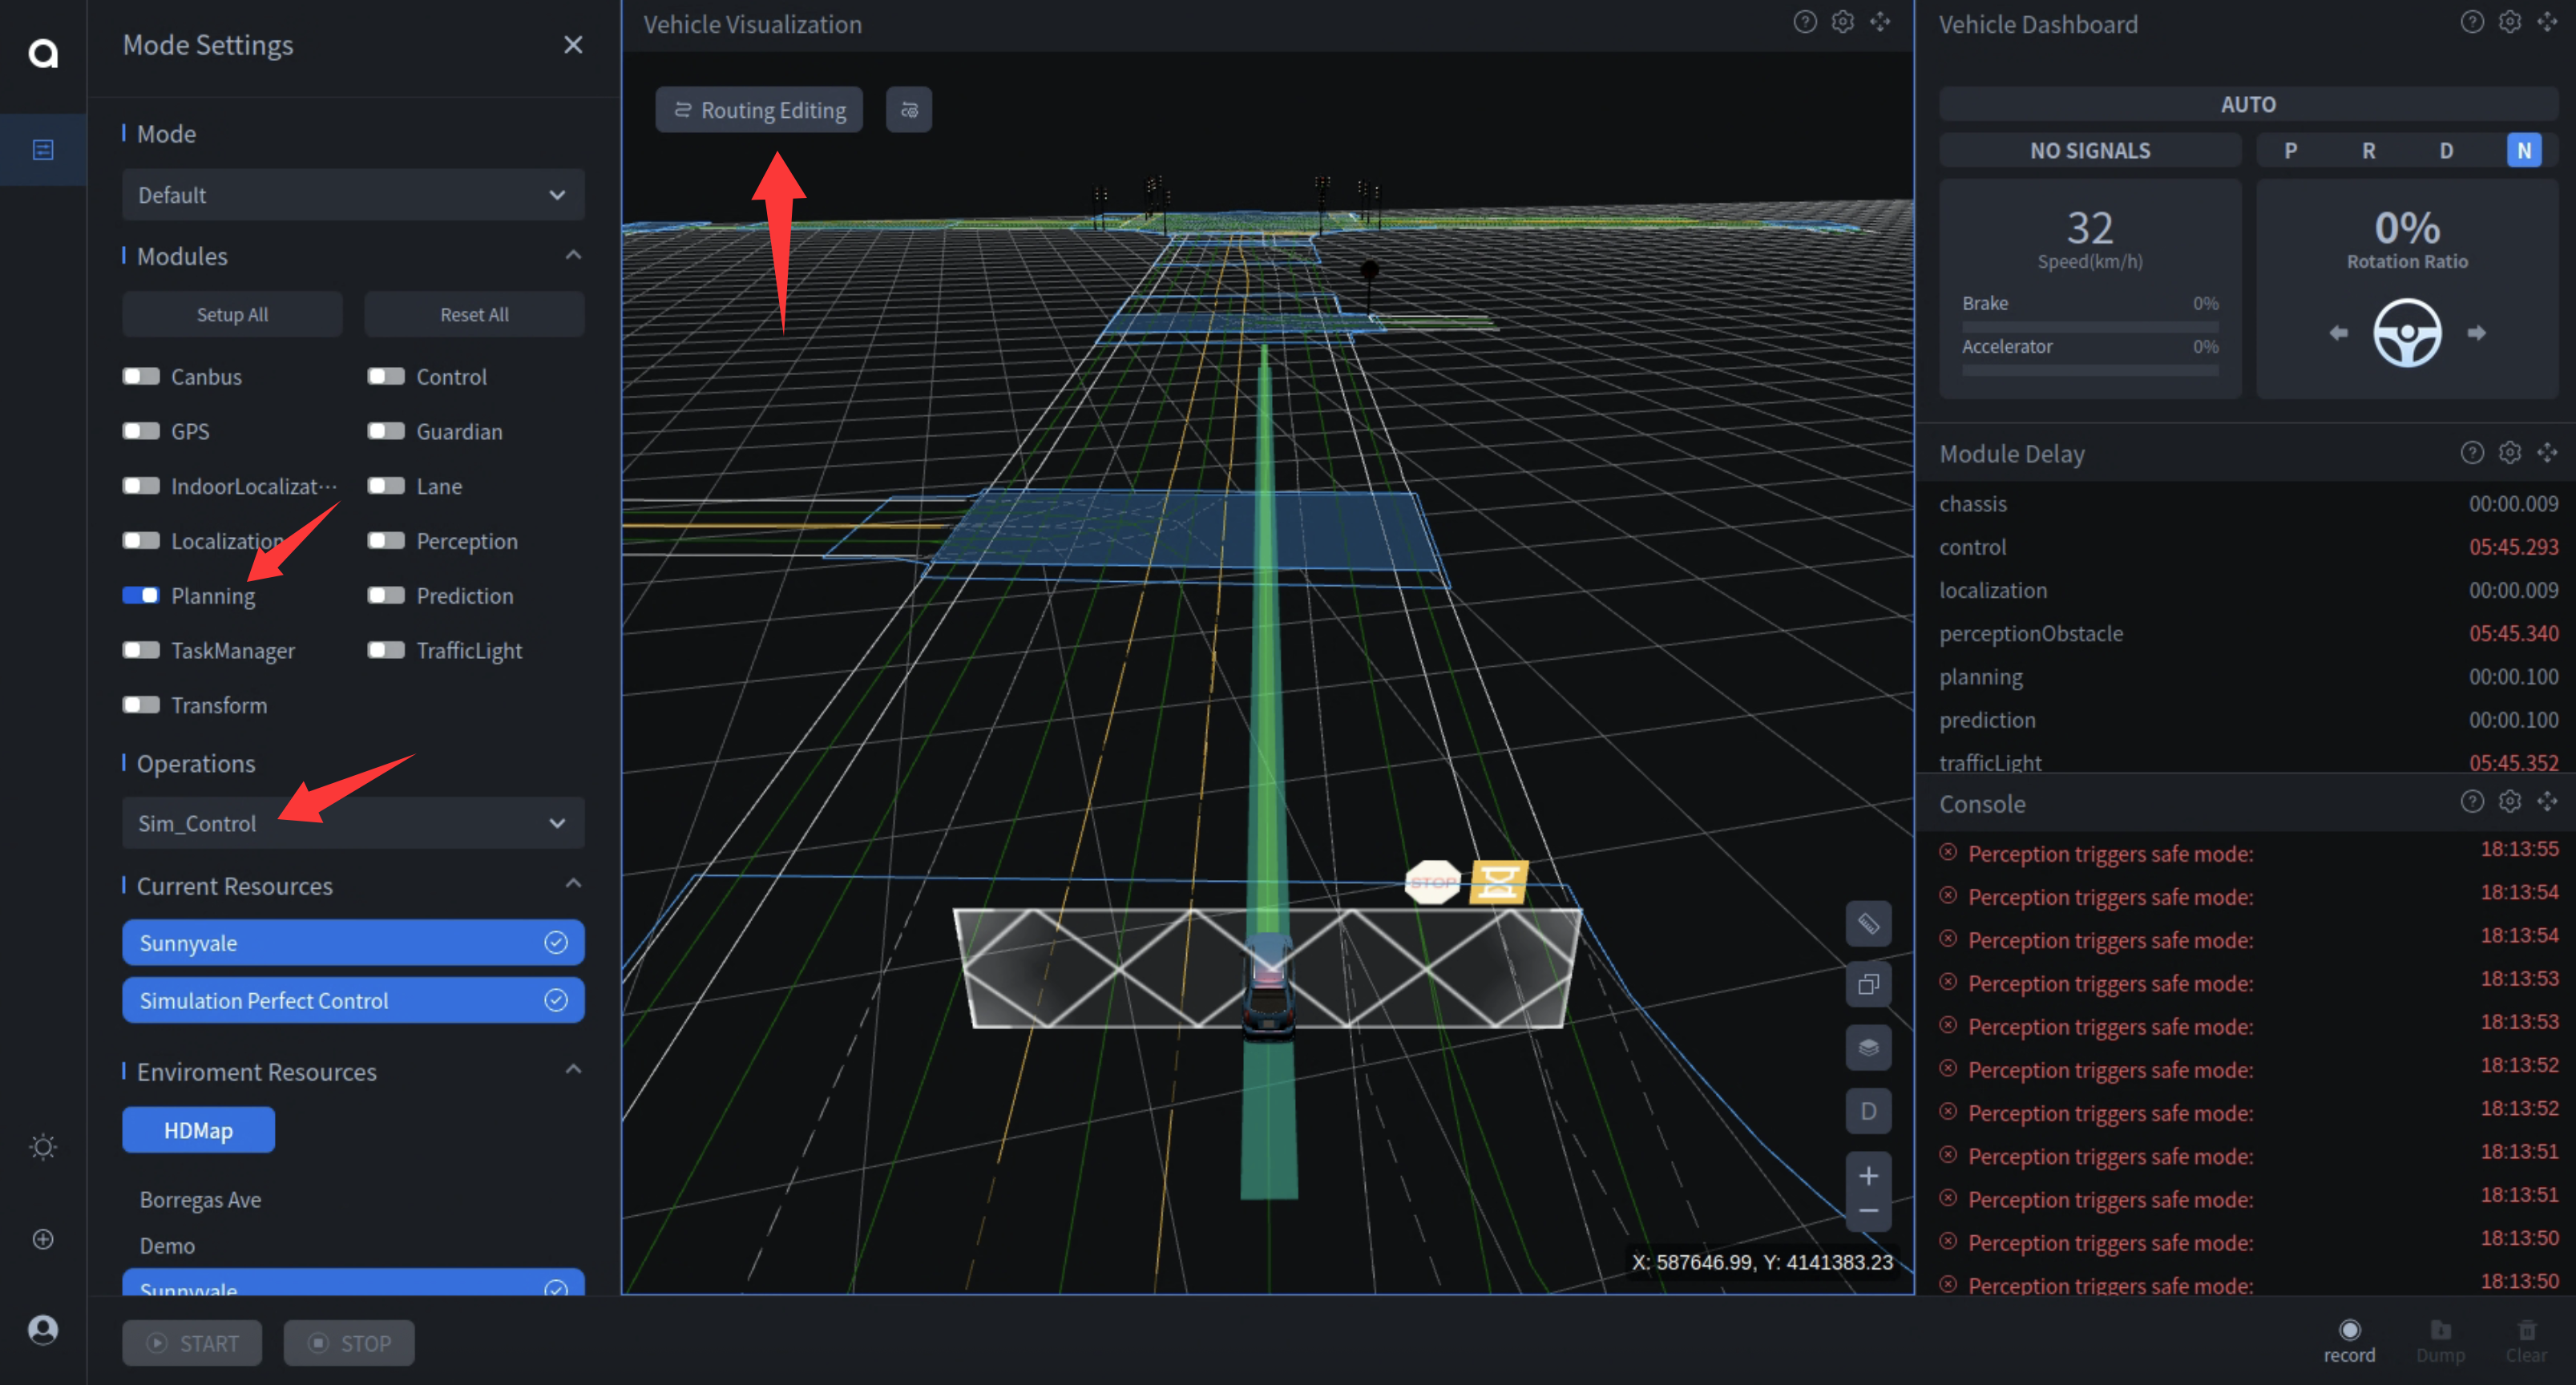
After launching Dreamview+, go to localhost:8888 in your browser. You can select Default Mode or other modes. We’ll use Default Mode here.
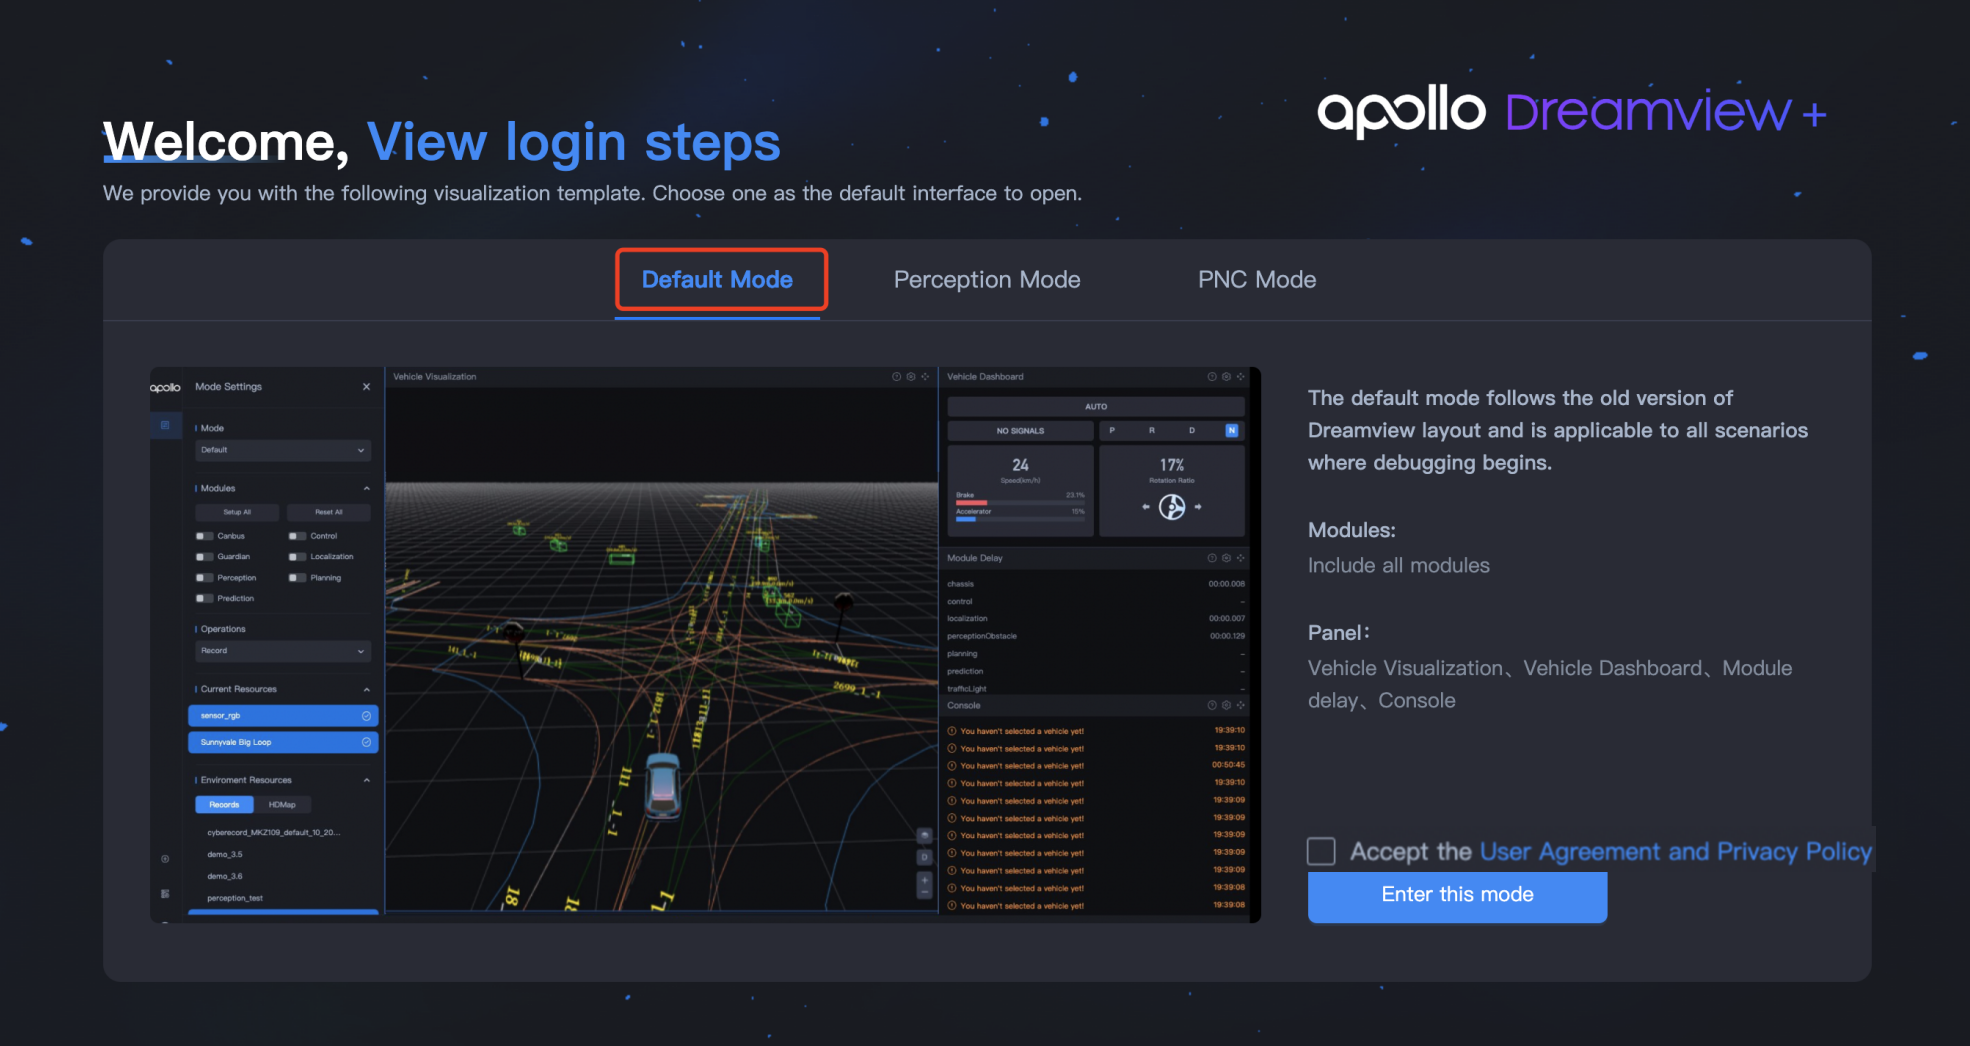
- Select Default Mode.
- Check Accept the User Agreement and Privacy Policy, then click Enter this Mode.
- On Mode Settings page:
- Under Operations, select Record
- Under Environment Resources > Records, select the desired record
- Under Environment Resources > HDMap, select Sunnyvale Big Loop
- Click the Play button at the bottom
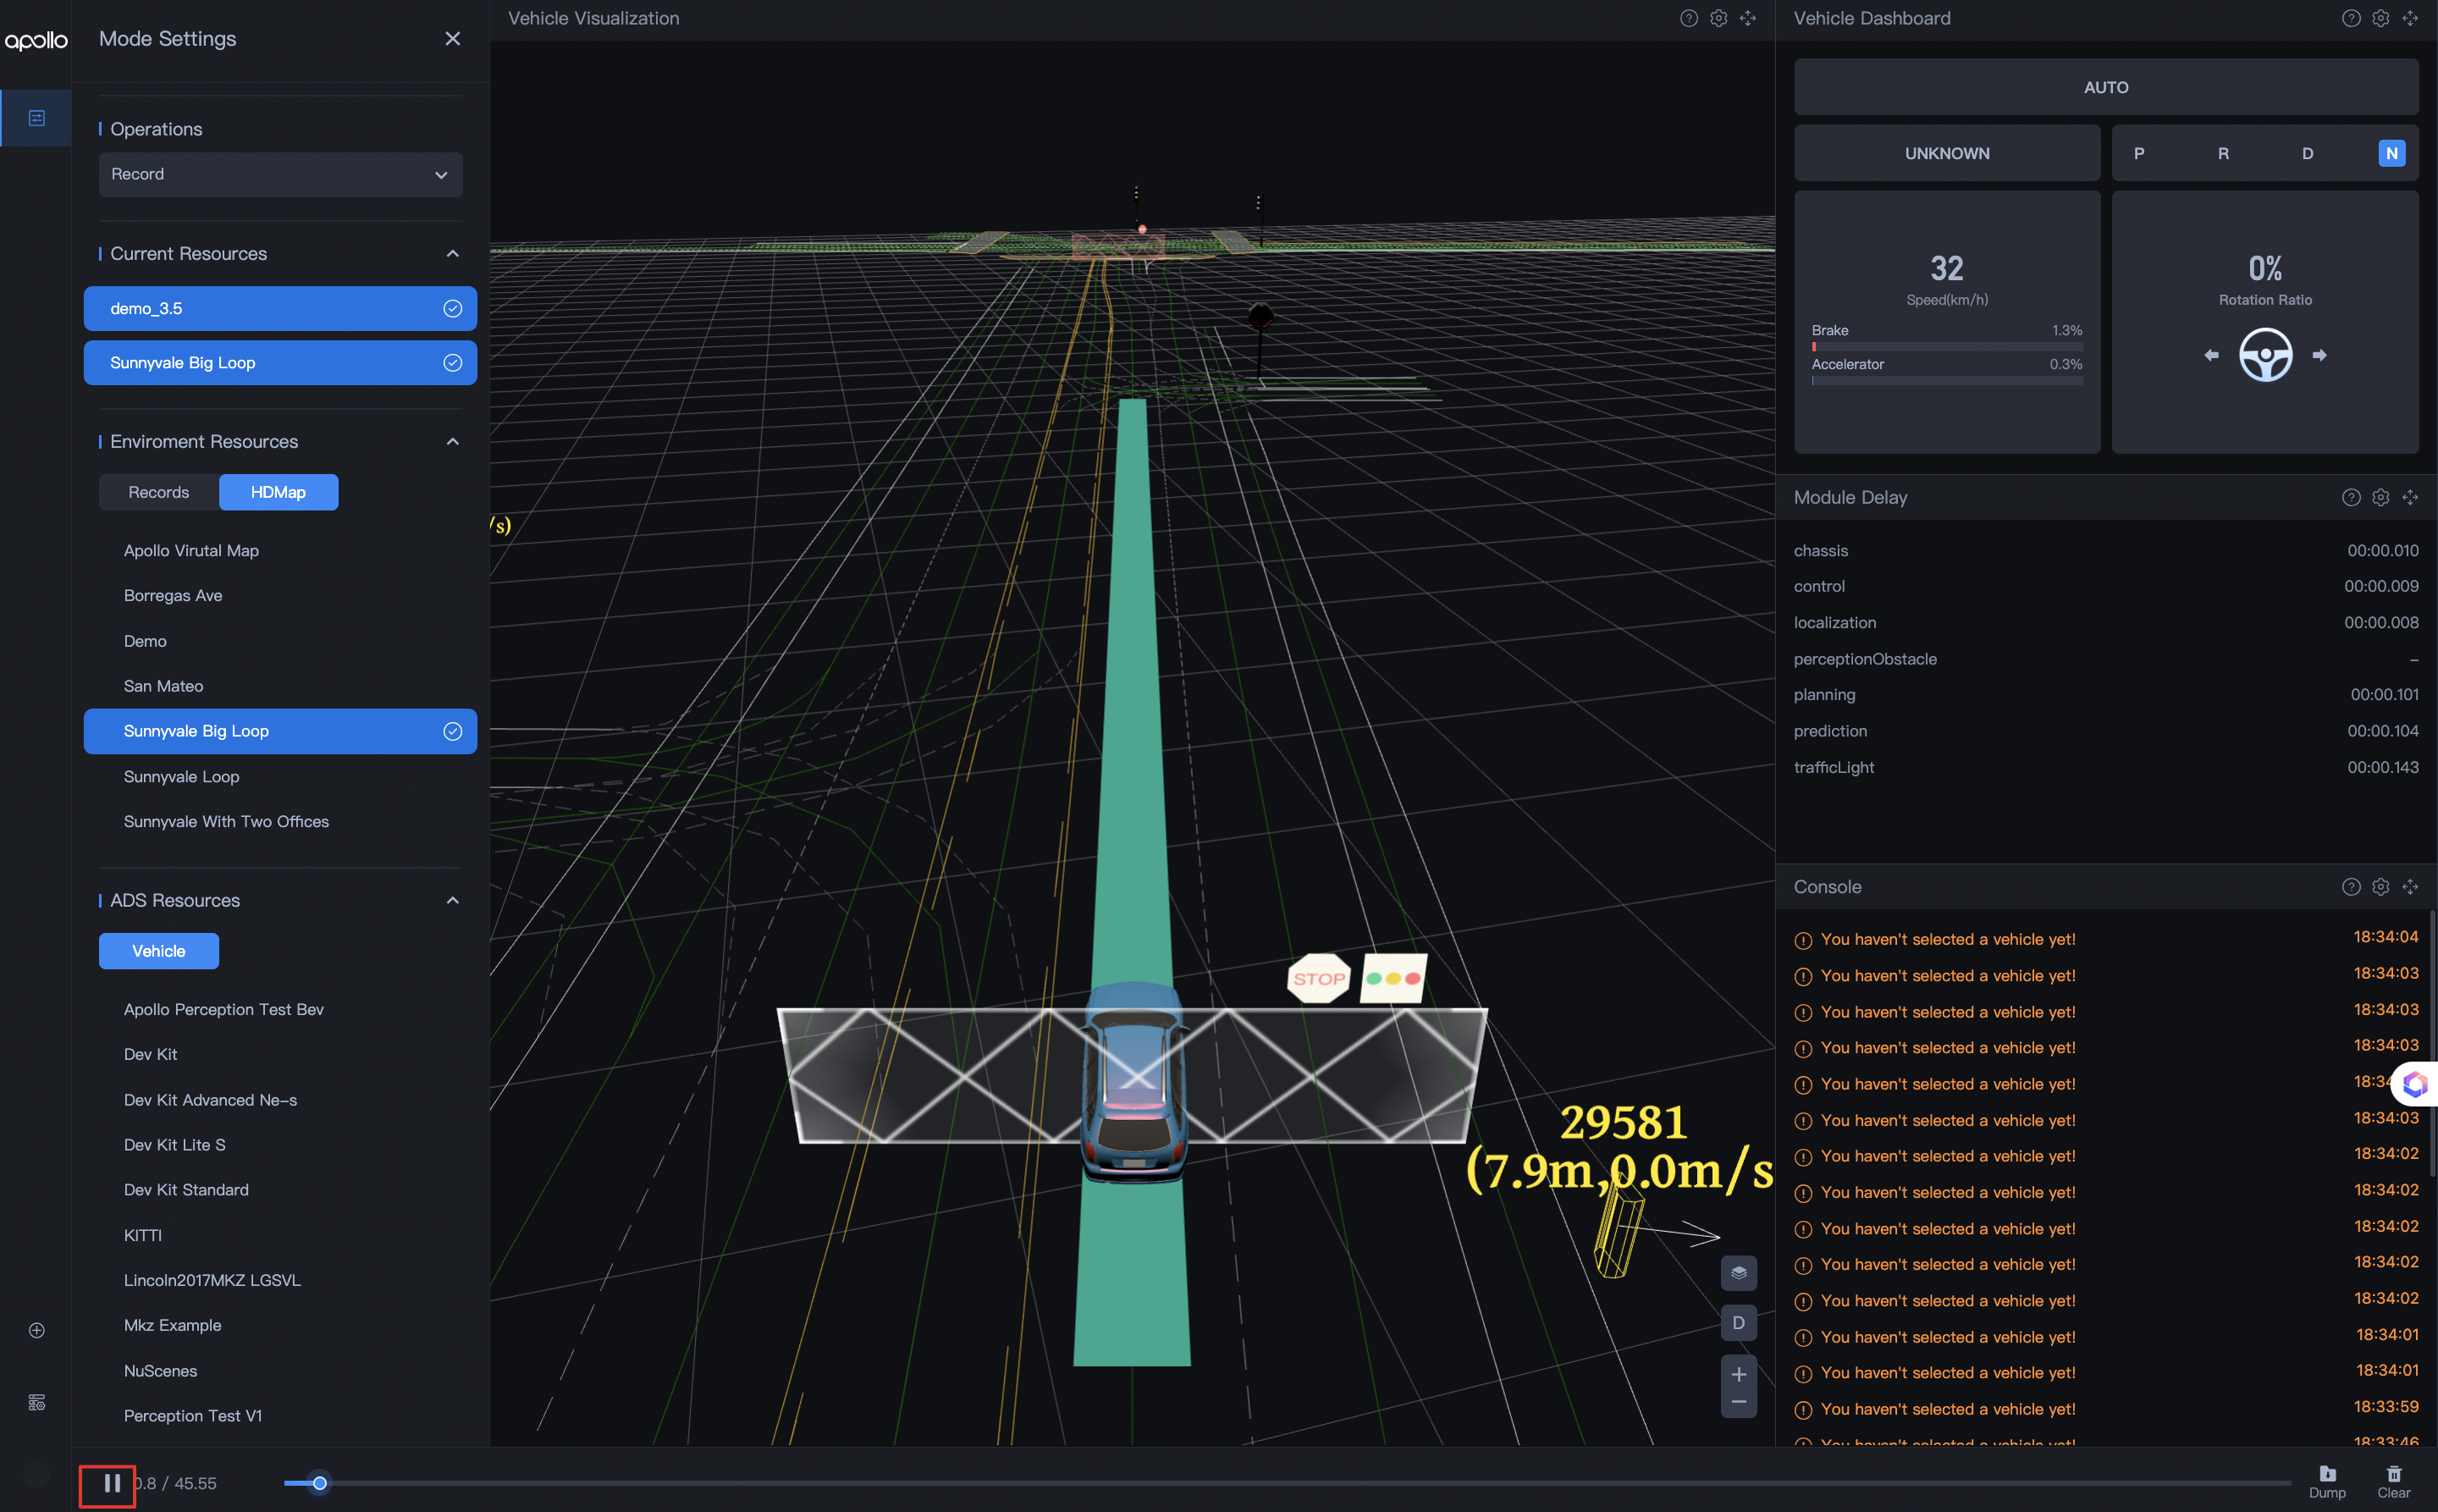
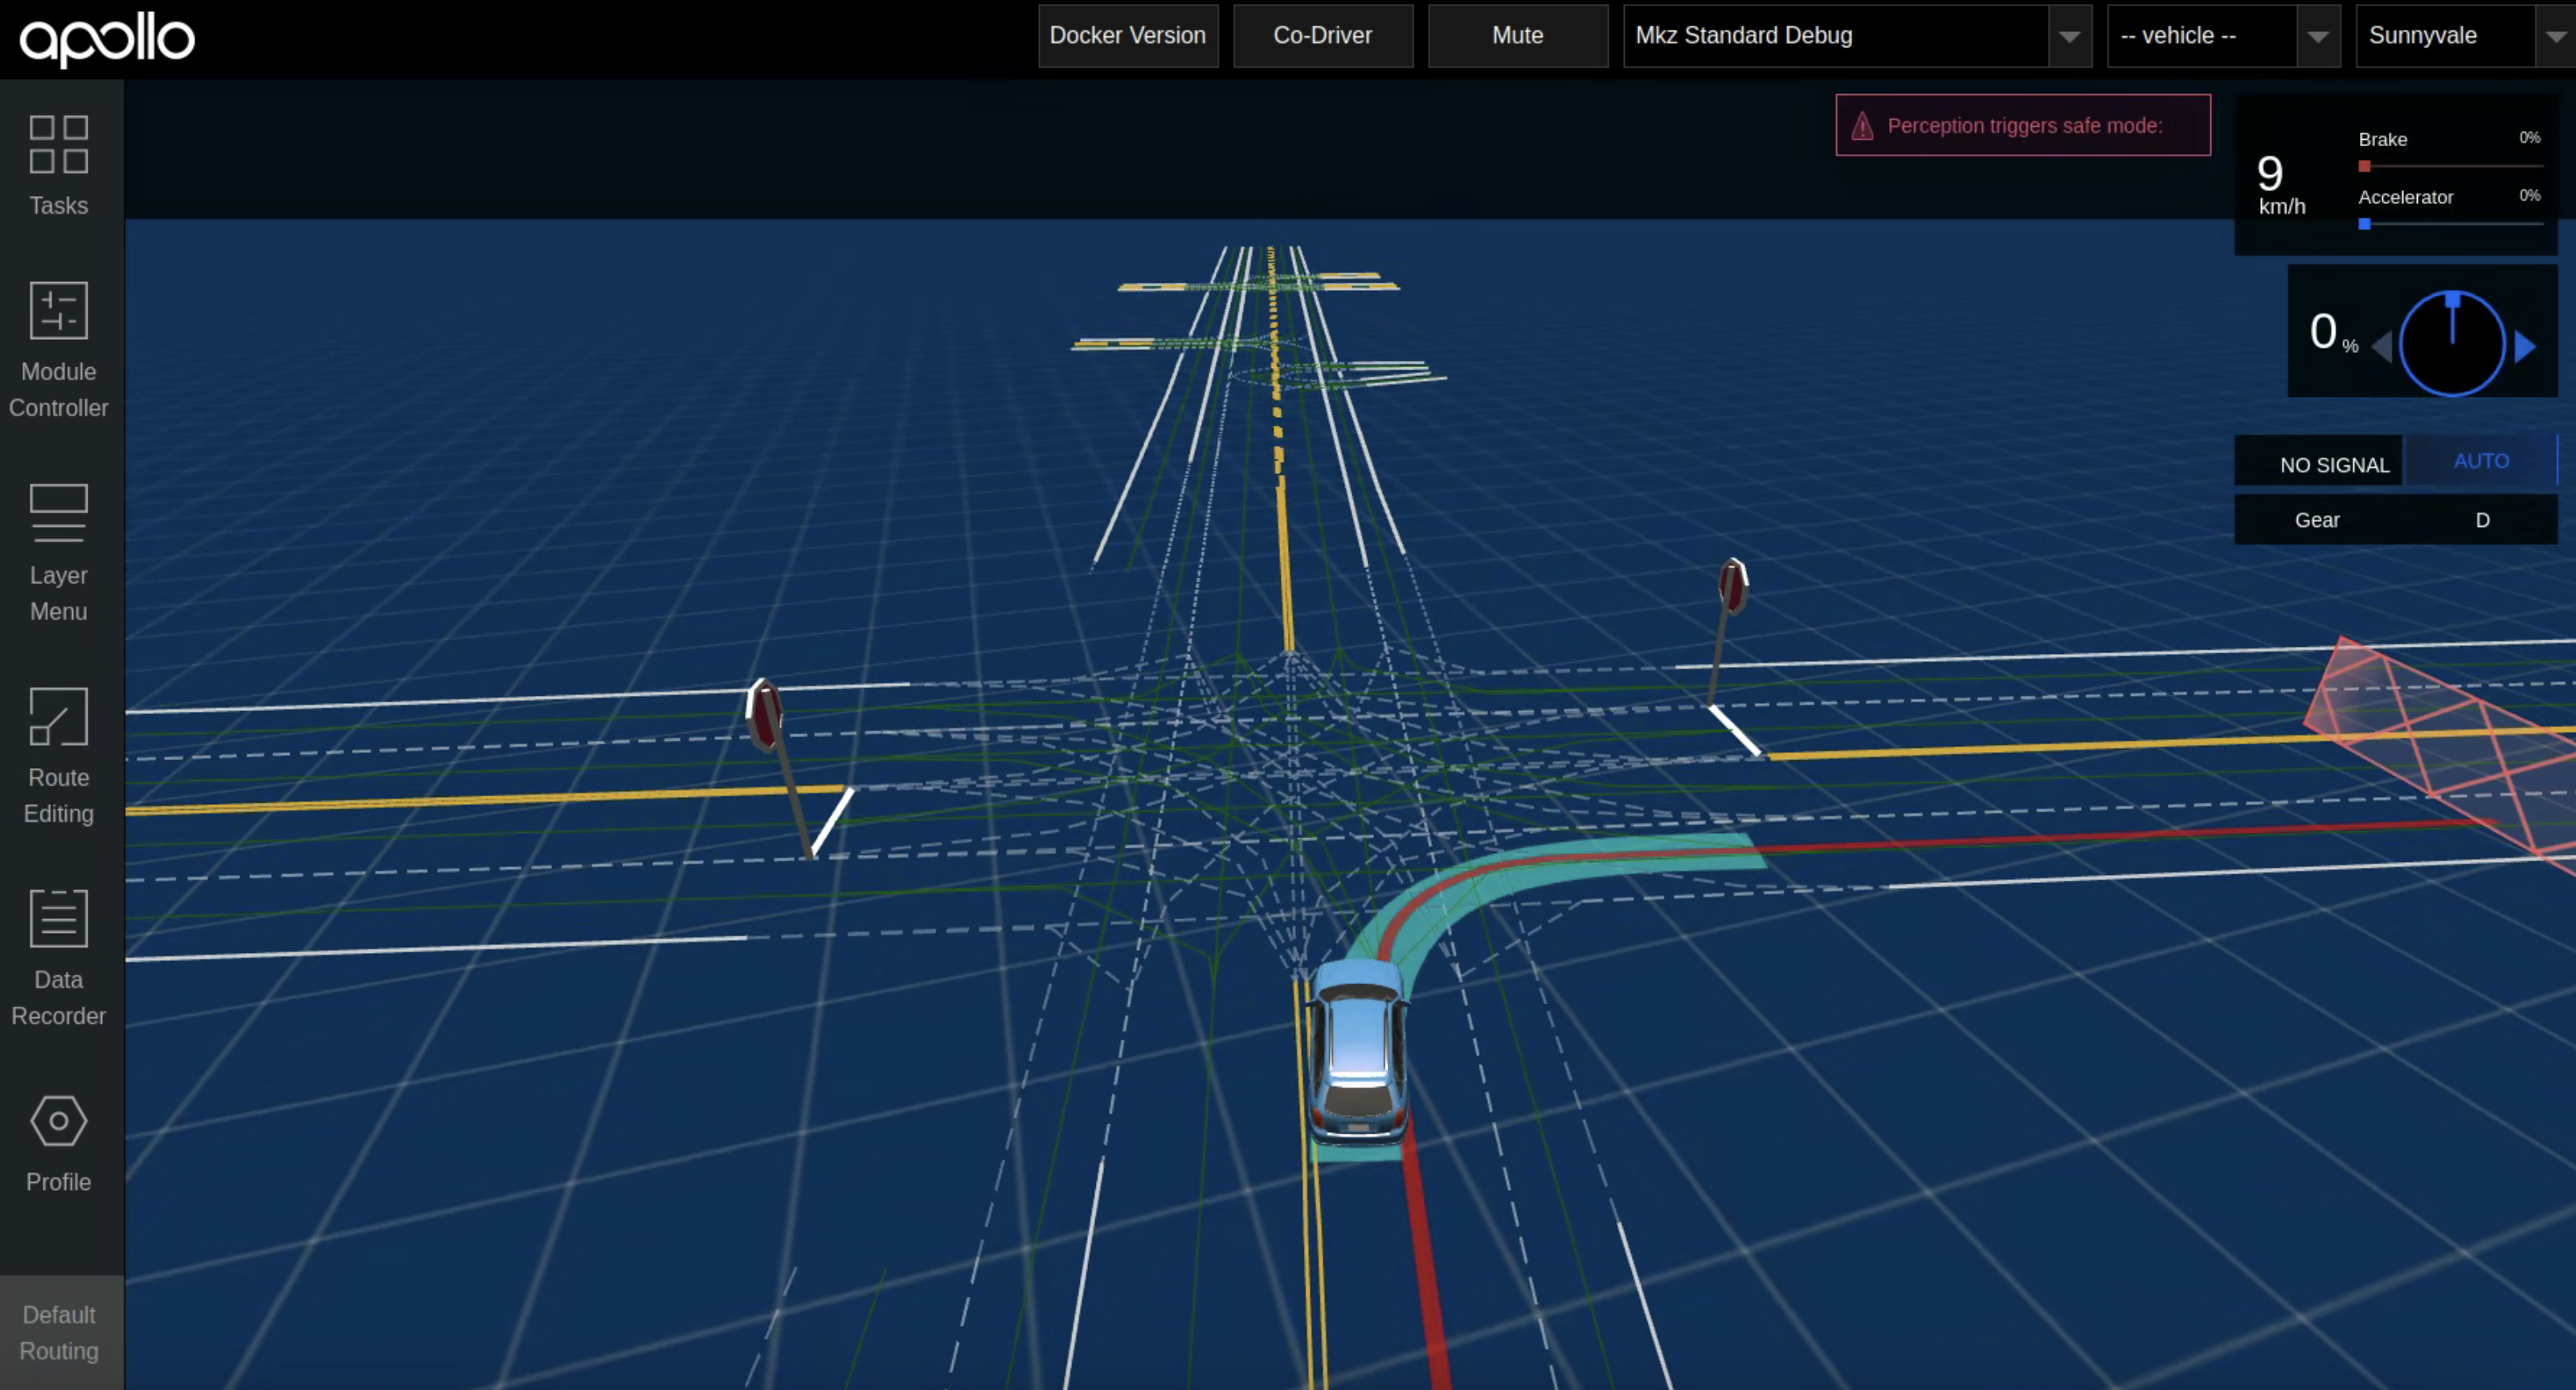
You’ll see the record playback in the Vehicle Visualization panel.
Play record via command line
- Enter docker environment.
- After downloading the record in Dreamview+ > Resource Manager > Records, run:
1 | |
Tip: Add
-lto loop playback. Without-l, it plays once.
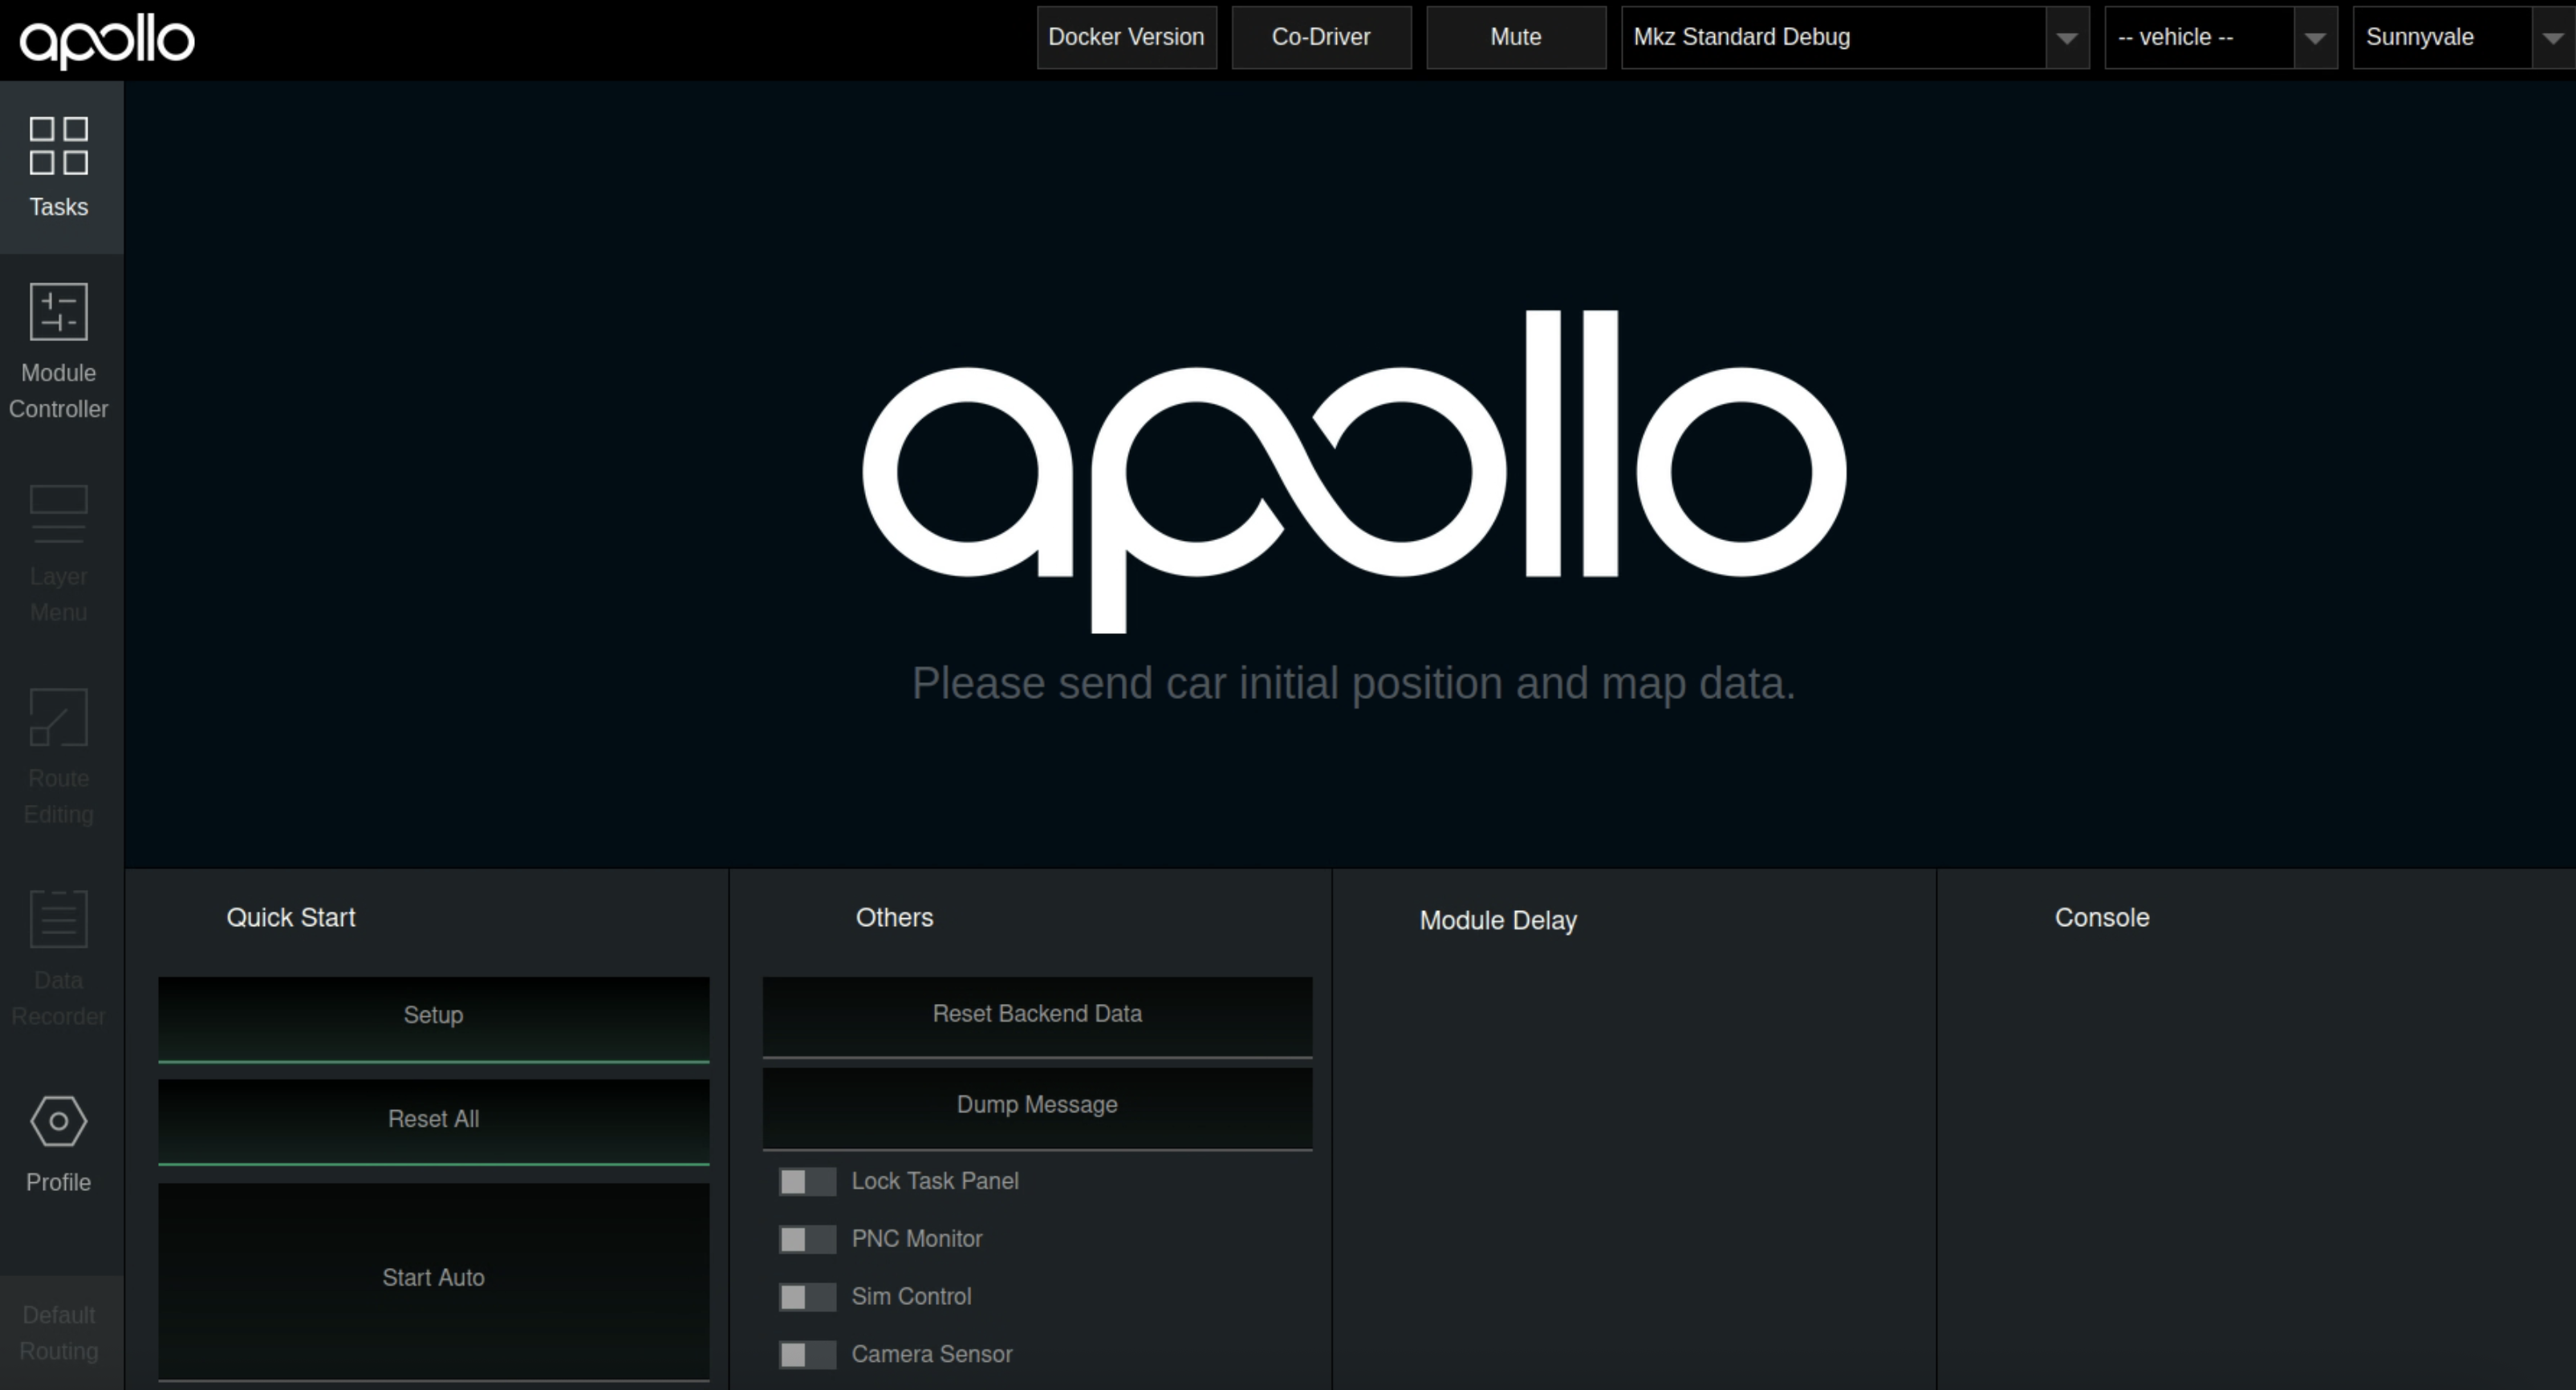
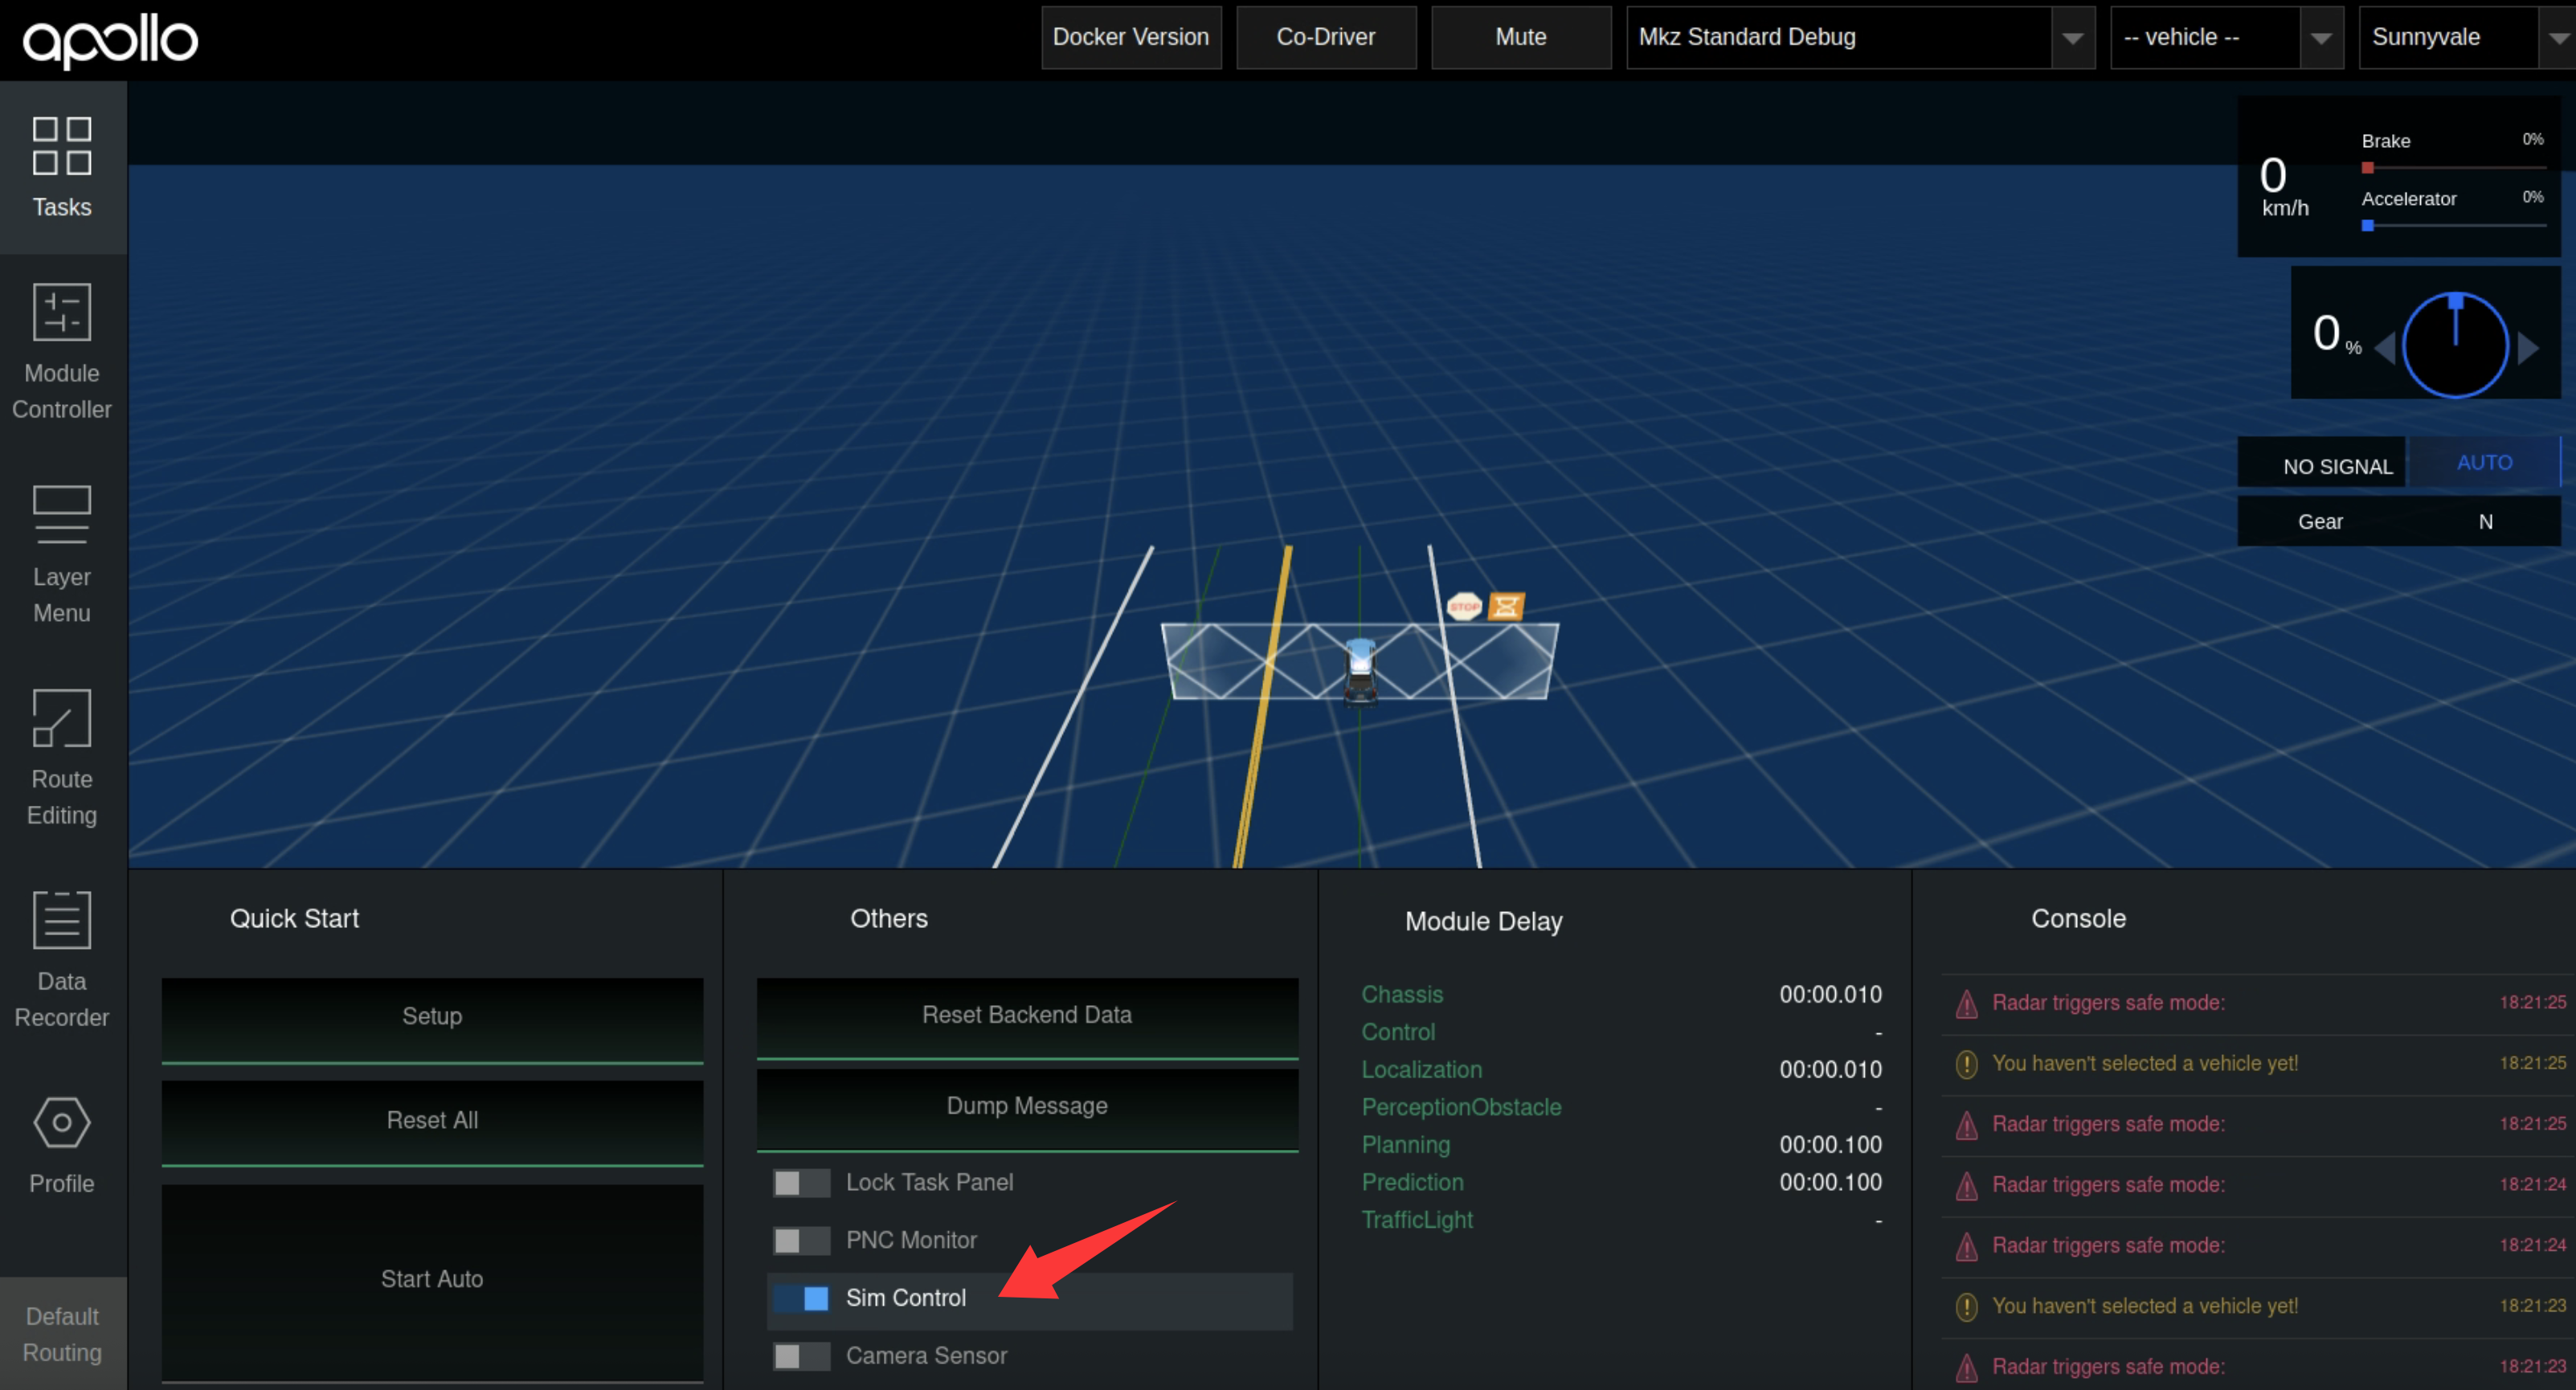
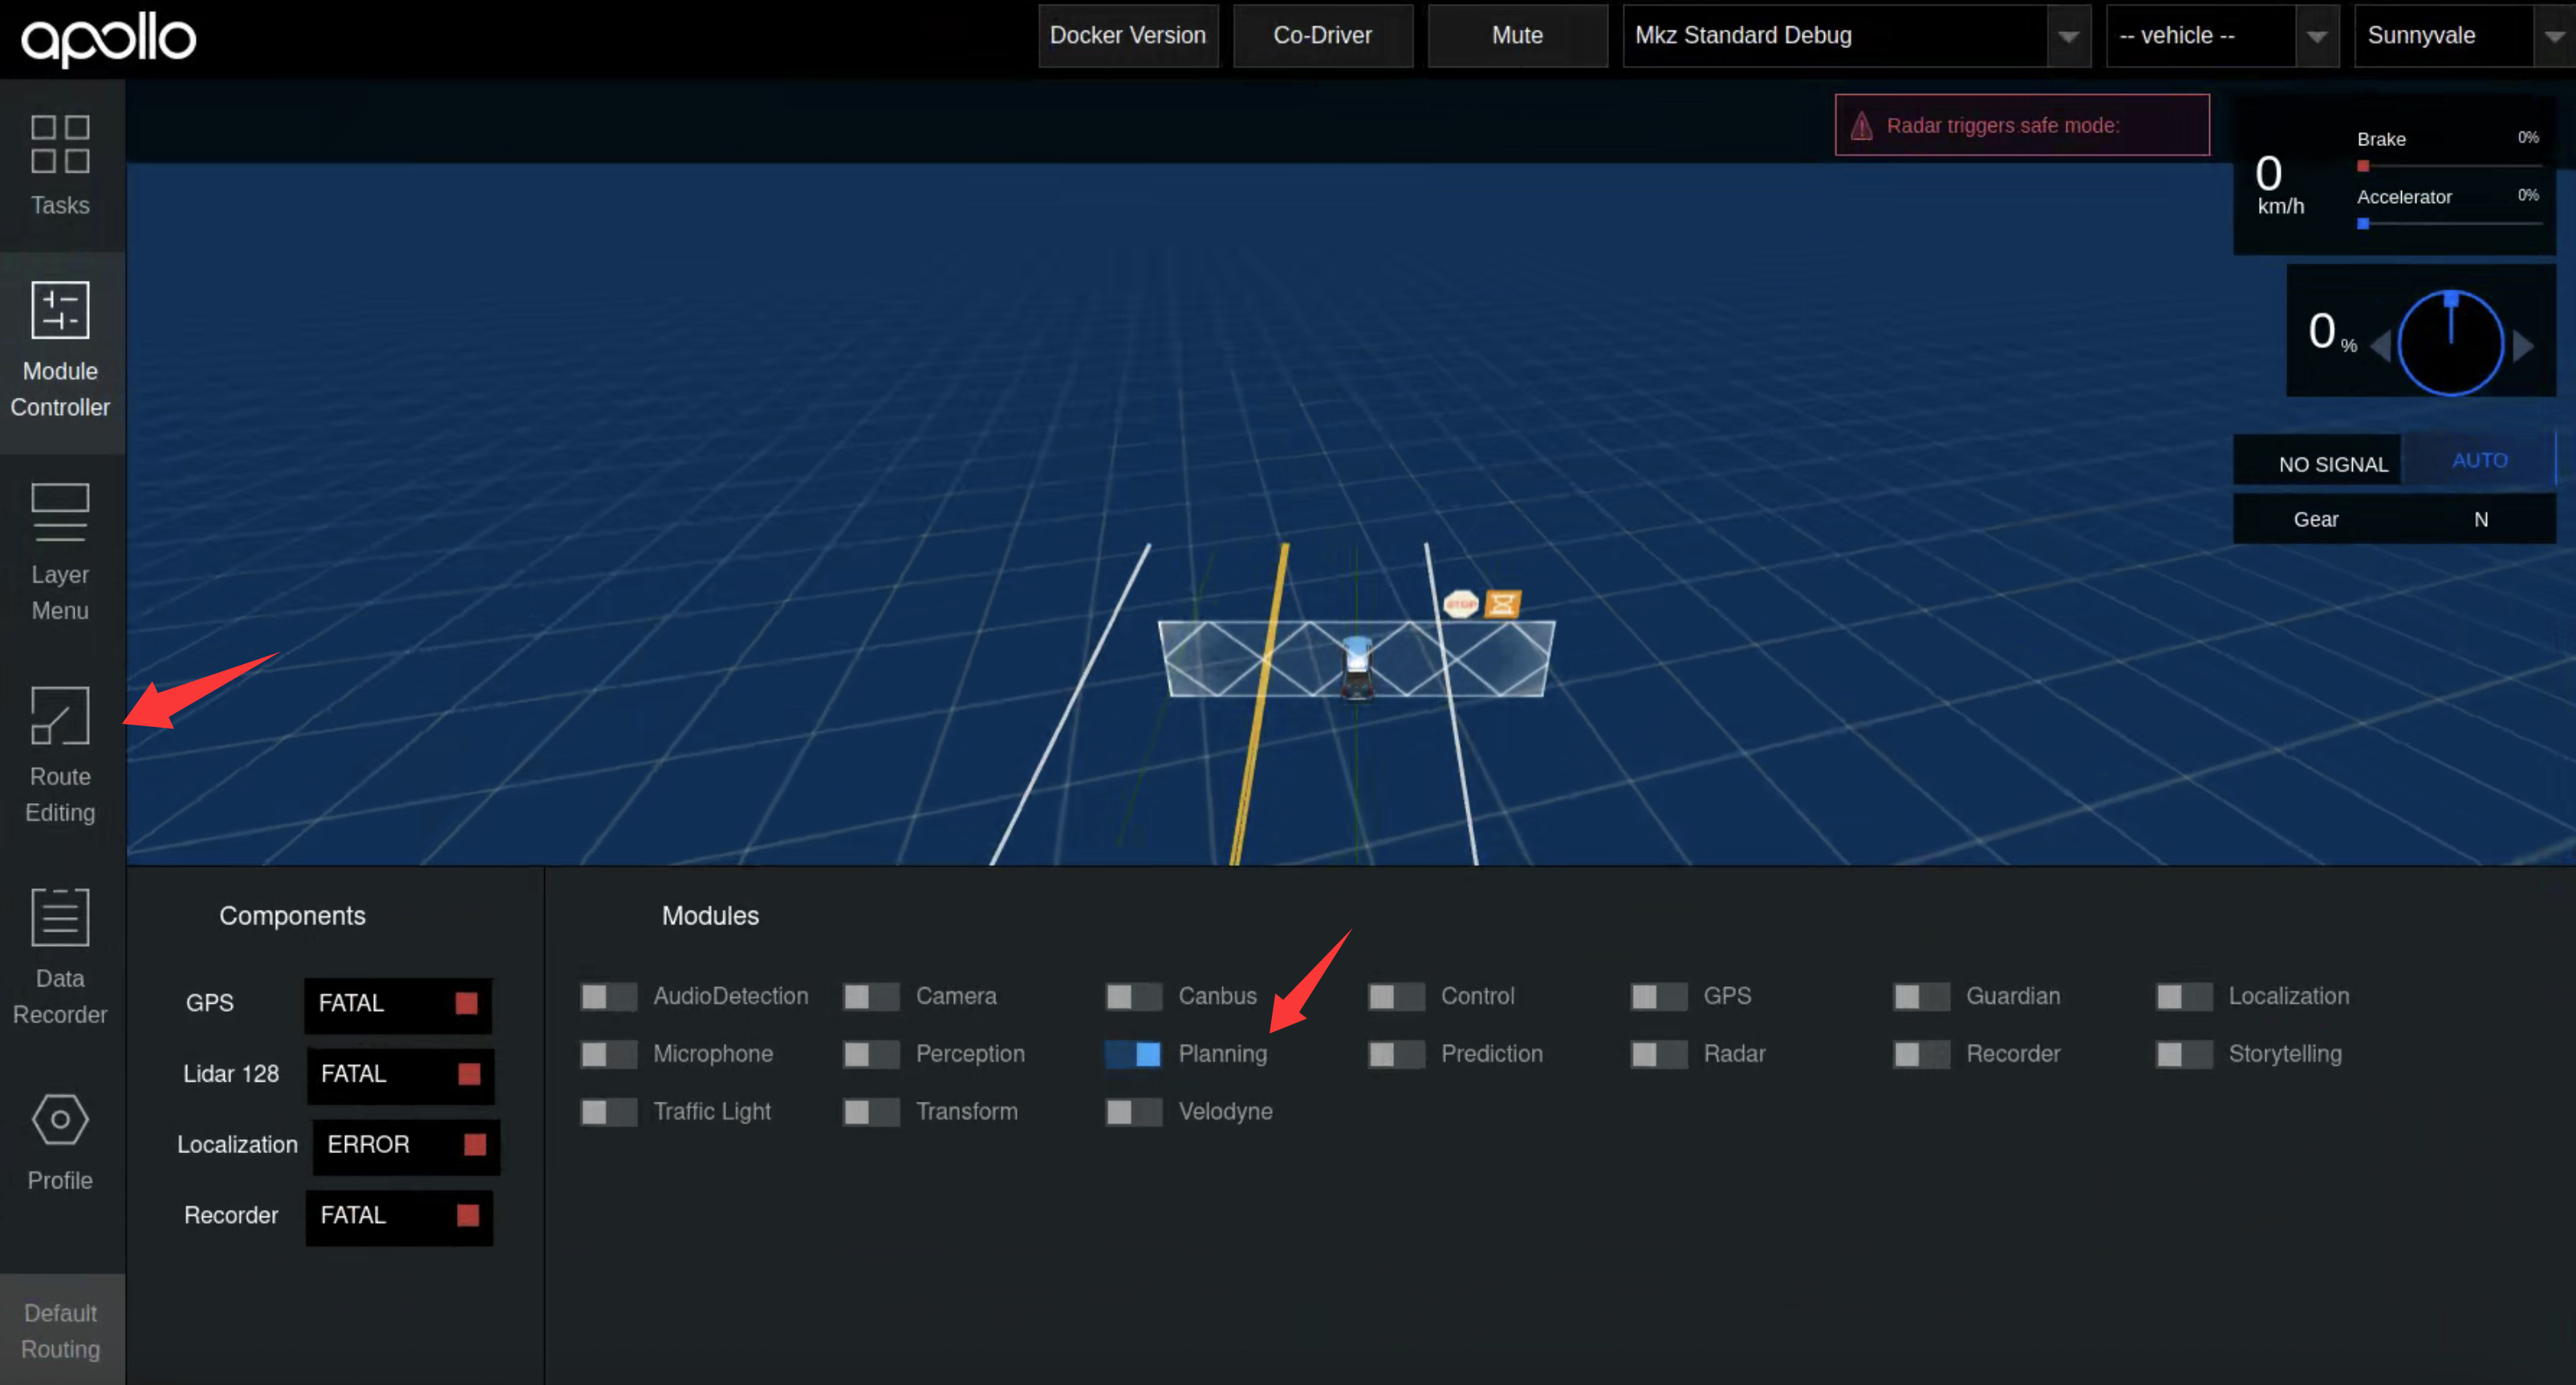
Using Dreamview
New versions (around 9.0 and above) recommend using Dreamview+. Dreamview’s path planning and other features may be inconvenient or unavailable due to lack of maintenance.
Dreamview+
Go to http://localhost:8888/
Play record

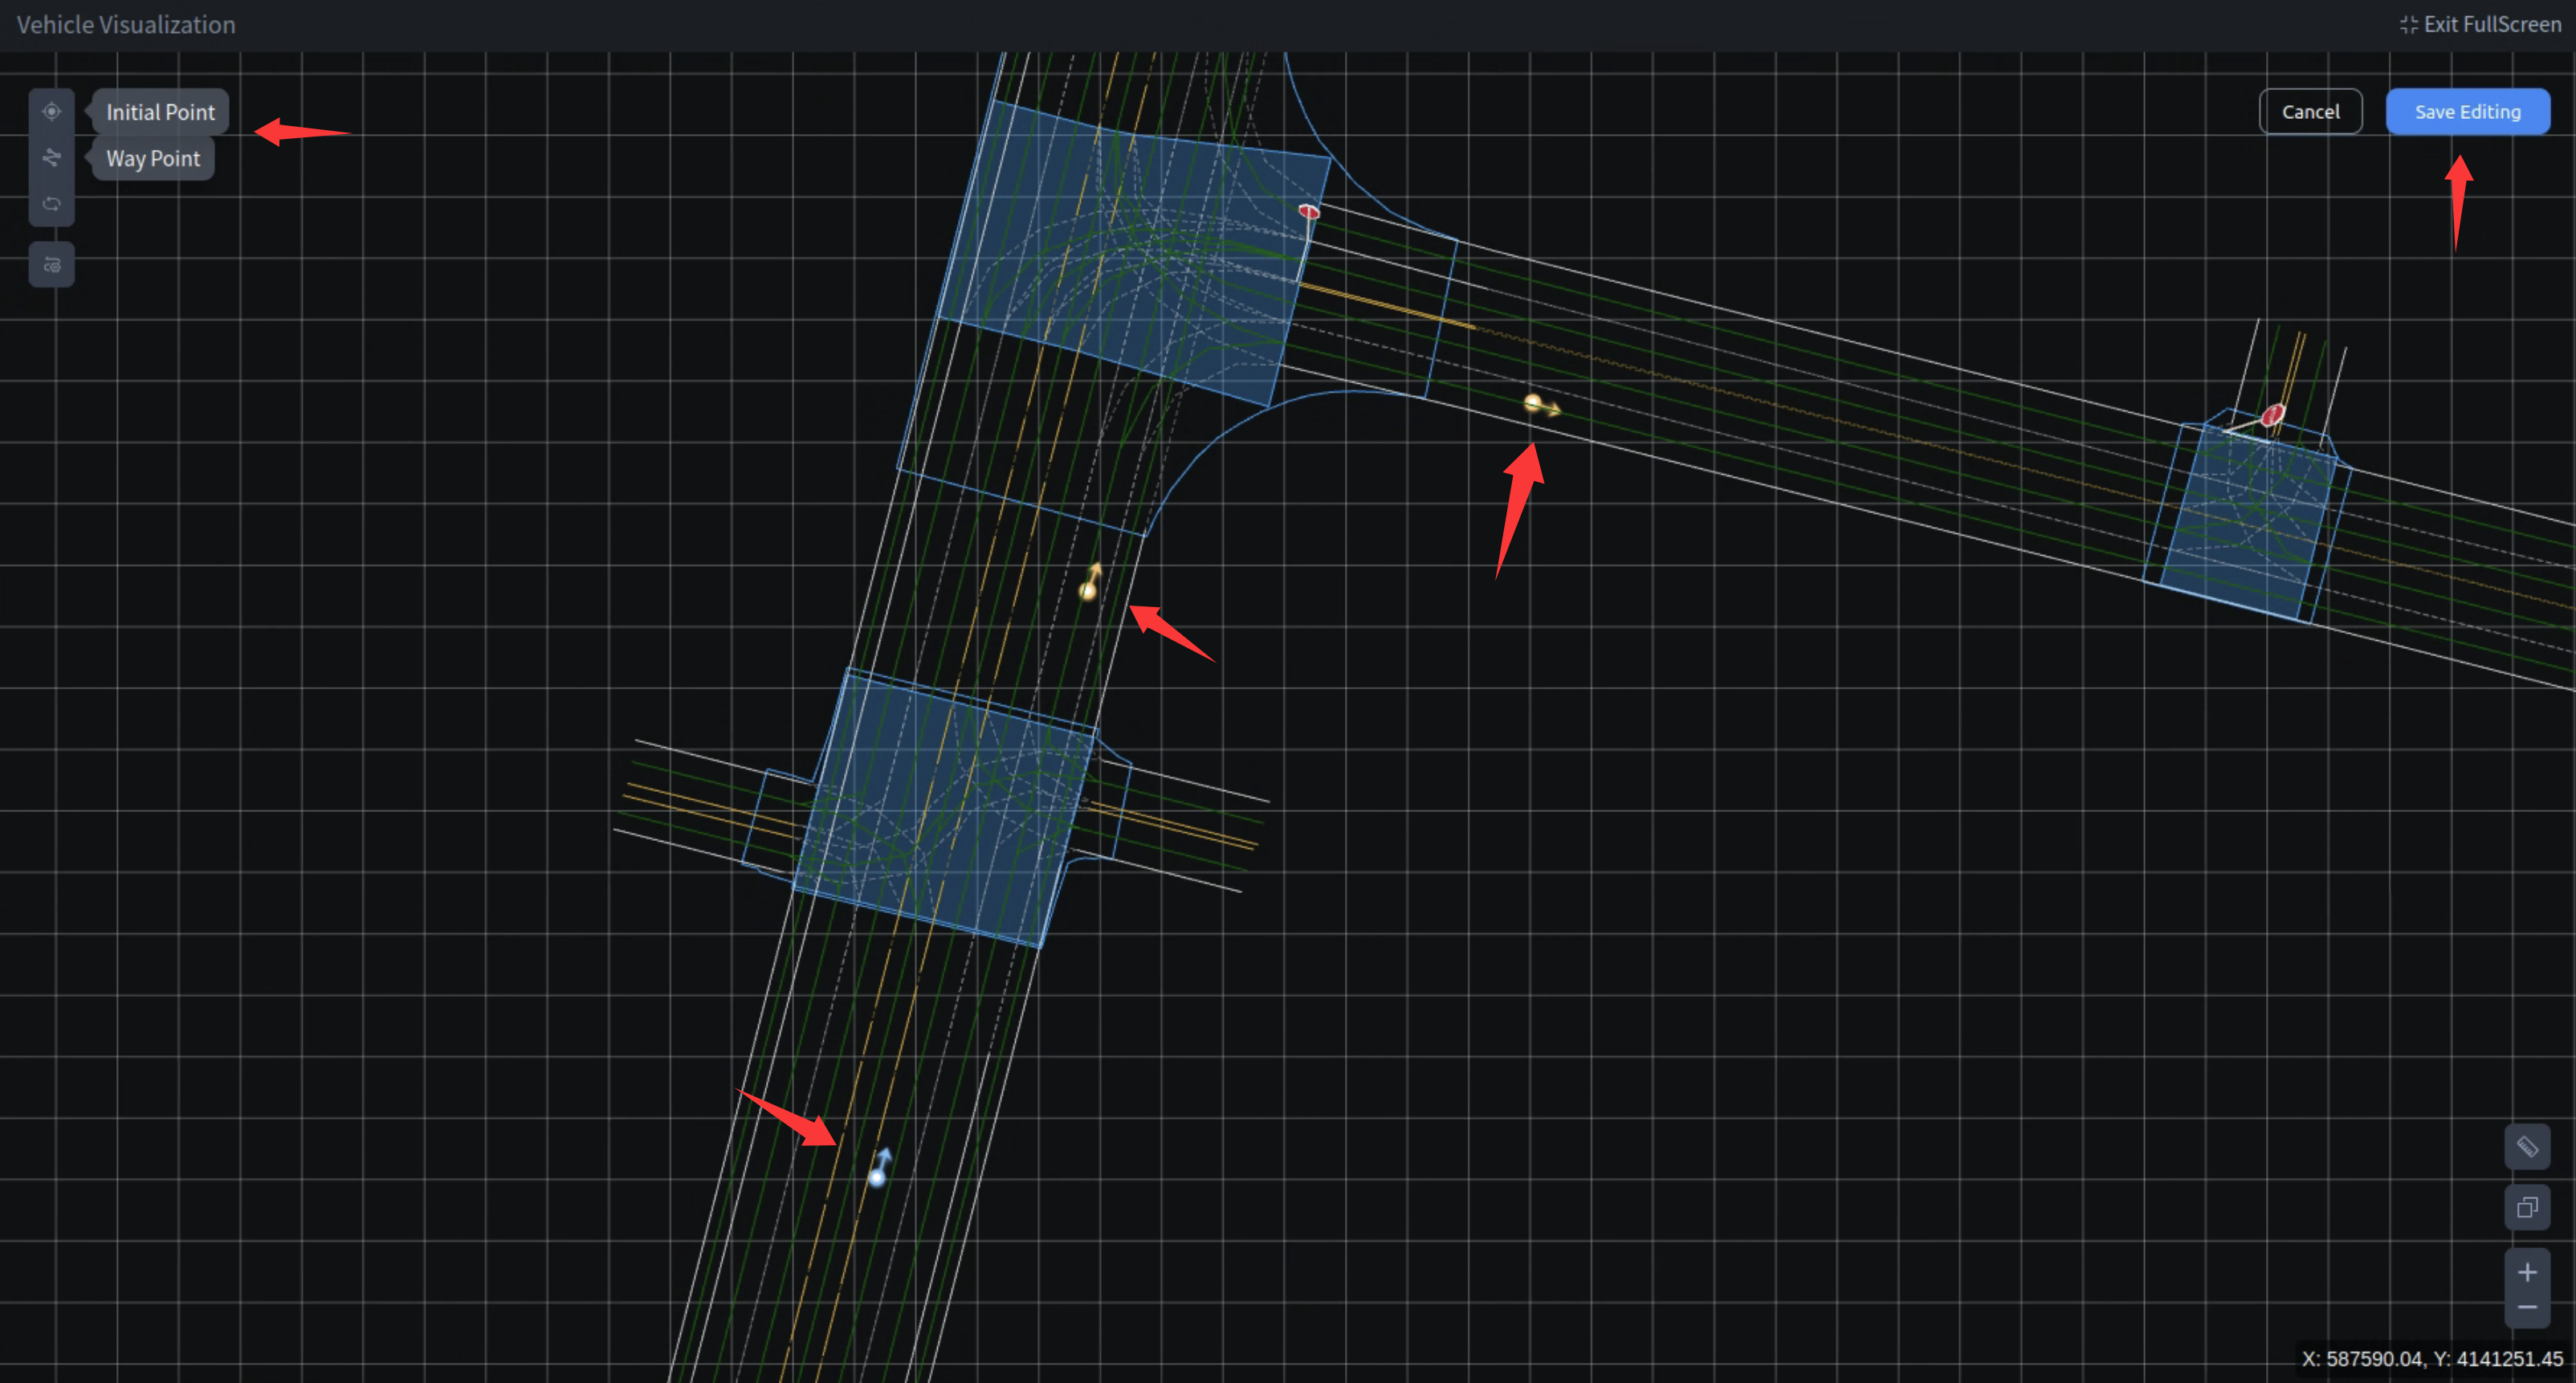
Route Editing
Dreamview
Go to http://localhost:8899/

Troubleshooting
- If you see a blank page at Dreamview+
localhost:8888, try clearing your browser cache, you can also try this if you encounter other display issues. - After
git clone, remember togit checkoutto the correct version. - When building Apollo 7.0 from source, you might encounter the following issues:
1 | |
At this point, you need to add the following content to the WORKSPACE file in the apollo directory to fix the zlib download address. This should be added after workspace(name = "apollo") on the first line of the file.
1 | |