本文介绍如何搭建 Autoware 的开发环境。
简介 Autoware 是世界领先的开源自动驾驶项目。
本文撰写于 2025 年 7 月 19 日,基于 Autoware 0.45.1 版本。
环境 我使用的系统环境。
Intel(R) Core(TM) i9-14900K
NVIDIA GeForce RTX 2080 Ti
Ubuntu 22.04.5 LTS
请自行安装 Docker Engine 和 NVIDIA Container Toolkit,可参考 Docker 官方文档 等。
下载源码 克隆 Autoware 仓库并切换到指定版本。
1
2
3
git clone https://github.com/autowarefoundation/autoware.gitcd autoware
安装所需依赖。
1 ./setup-dev-env.sh -y docker
为了使用 -y,你可以先执行 sudo ls 或类似命令输入一次密码。或者,你也可以去掉 -y 选项,这样在需要时手动同意并输入密码,否则脚本会因为需要 sudo 权限而失败。
完成后看到以下输出。
1
2
3
4
PLAY RECAP **************************************************************************************************
开发环境 启动 devel 容器。
要退出开发容器,建议使用 CTRL-p CTRL-q 键组合,这样可以避免丢失修改内容。您可以使用 docker attach CONTAINER 或 docker exec -it CONTAINER bash 命令重新连接到容器。更多信息请参考 docker container attach 。
进入工作目录。
创建 src 目录并克隆存储库。
1
2
mkdir -p src
更新依赖的 ROS 包。
1
2
3
sudo apt update && sudo apt upgrade$ROS_DISTRO
如果 apt 更新时遇到 GPG Key 错误,可以尝试以下命令。
1
2
3
4
5
W: GPG error: http://packages.ros.org/ros2/ubuntu jammy InRelease: The following signatures were invalid: EXPKEYSIG F42ED6FBAB17C654 Open Robotics <[email protected] >'http://packages.ros.org/ros2/ubuntu jammy InRelease' is not signed.'t be done securely, and is therefore disabled by default. N: See apt-secure(8) manpage for repository creation and user configuration details. W: http://ppa.launchpad.net/kisak/kisak-mesa/ubuntu/dists/jammy/InRelease: Key is stored in legacy trusted.gpg keyring (/etc/apt/trusted.gpg), see the DEPRECATION section in apt-key(8) for details.
1
2
3
4
sudo rm -f /etc/apt/sources.list.d/ros2-latest.listsudo rm -f /etc/apt/sources.list.d/ros2.listsudo curl -fsSL https://raw.githubusercontent.com/ros/rosdistro/master/ros.key | gpg --dearmor | sudo tee /usr/share/keyrings/ros-archive-keyring.gpg > /dev/nullecho "deb [arch=amd64 signed-by=/usr/share/keyrings/ros-archive-keyring.gpg] http://packages.ros.org/ros2/ubuntu jammy main" | sudo tee /etc/apt/sources.list.d/ros2.list > /dev/null
构建工作区。
1 colcon build --symlink-install --cmake-args -DCMAKE_BUILD_TYPE=Release
第一次编译完成后不一定会全部成功,此时继续重新编译,失败的包会越来越少,直到成功。
1
2
3
4
5
6
7
root@SORA-WS3:/workspace# colcon build --symlink-install --cmake-args -DCMAKE_BUILD_TYPE=Release
场景模拟 安装 在开发环境的 /workspace 目录下,执行以下命令。
导入模拟器依赖
1 vcs import src < simulator.repos
安装 ROS 依赖
1
2
source /opt/ros/humble/setup.bash$ROS_DISTRO
构建工作区
1 colcon build --symlink-install --cmake-args -DCMAKE_BUILD_TYPE=Release
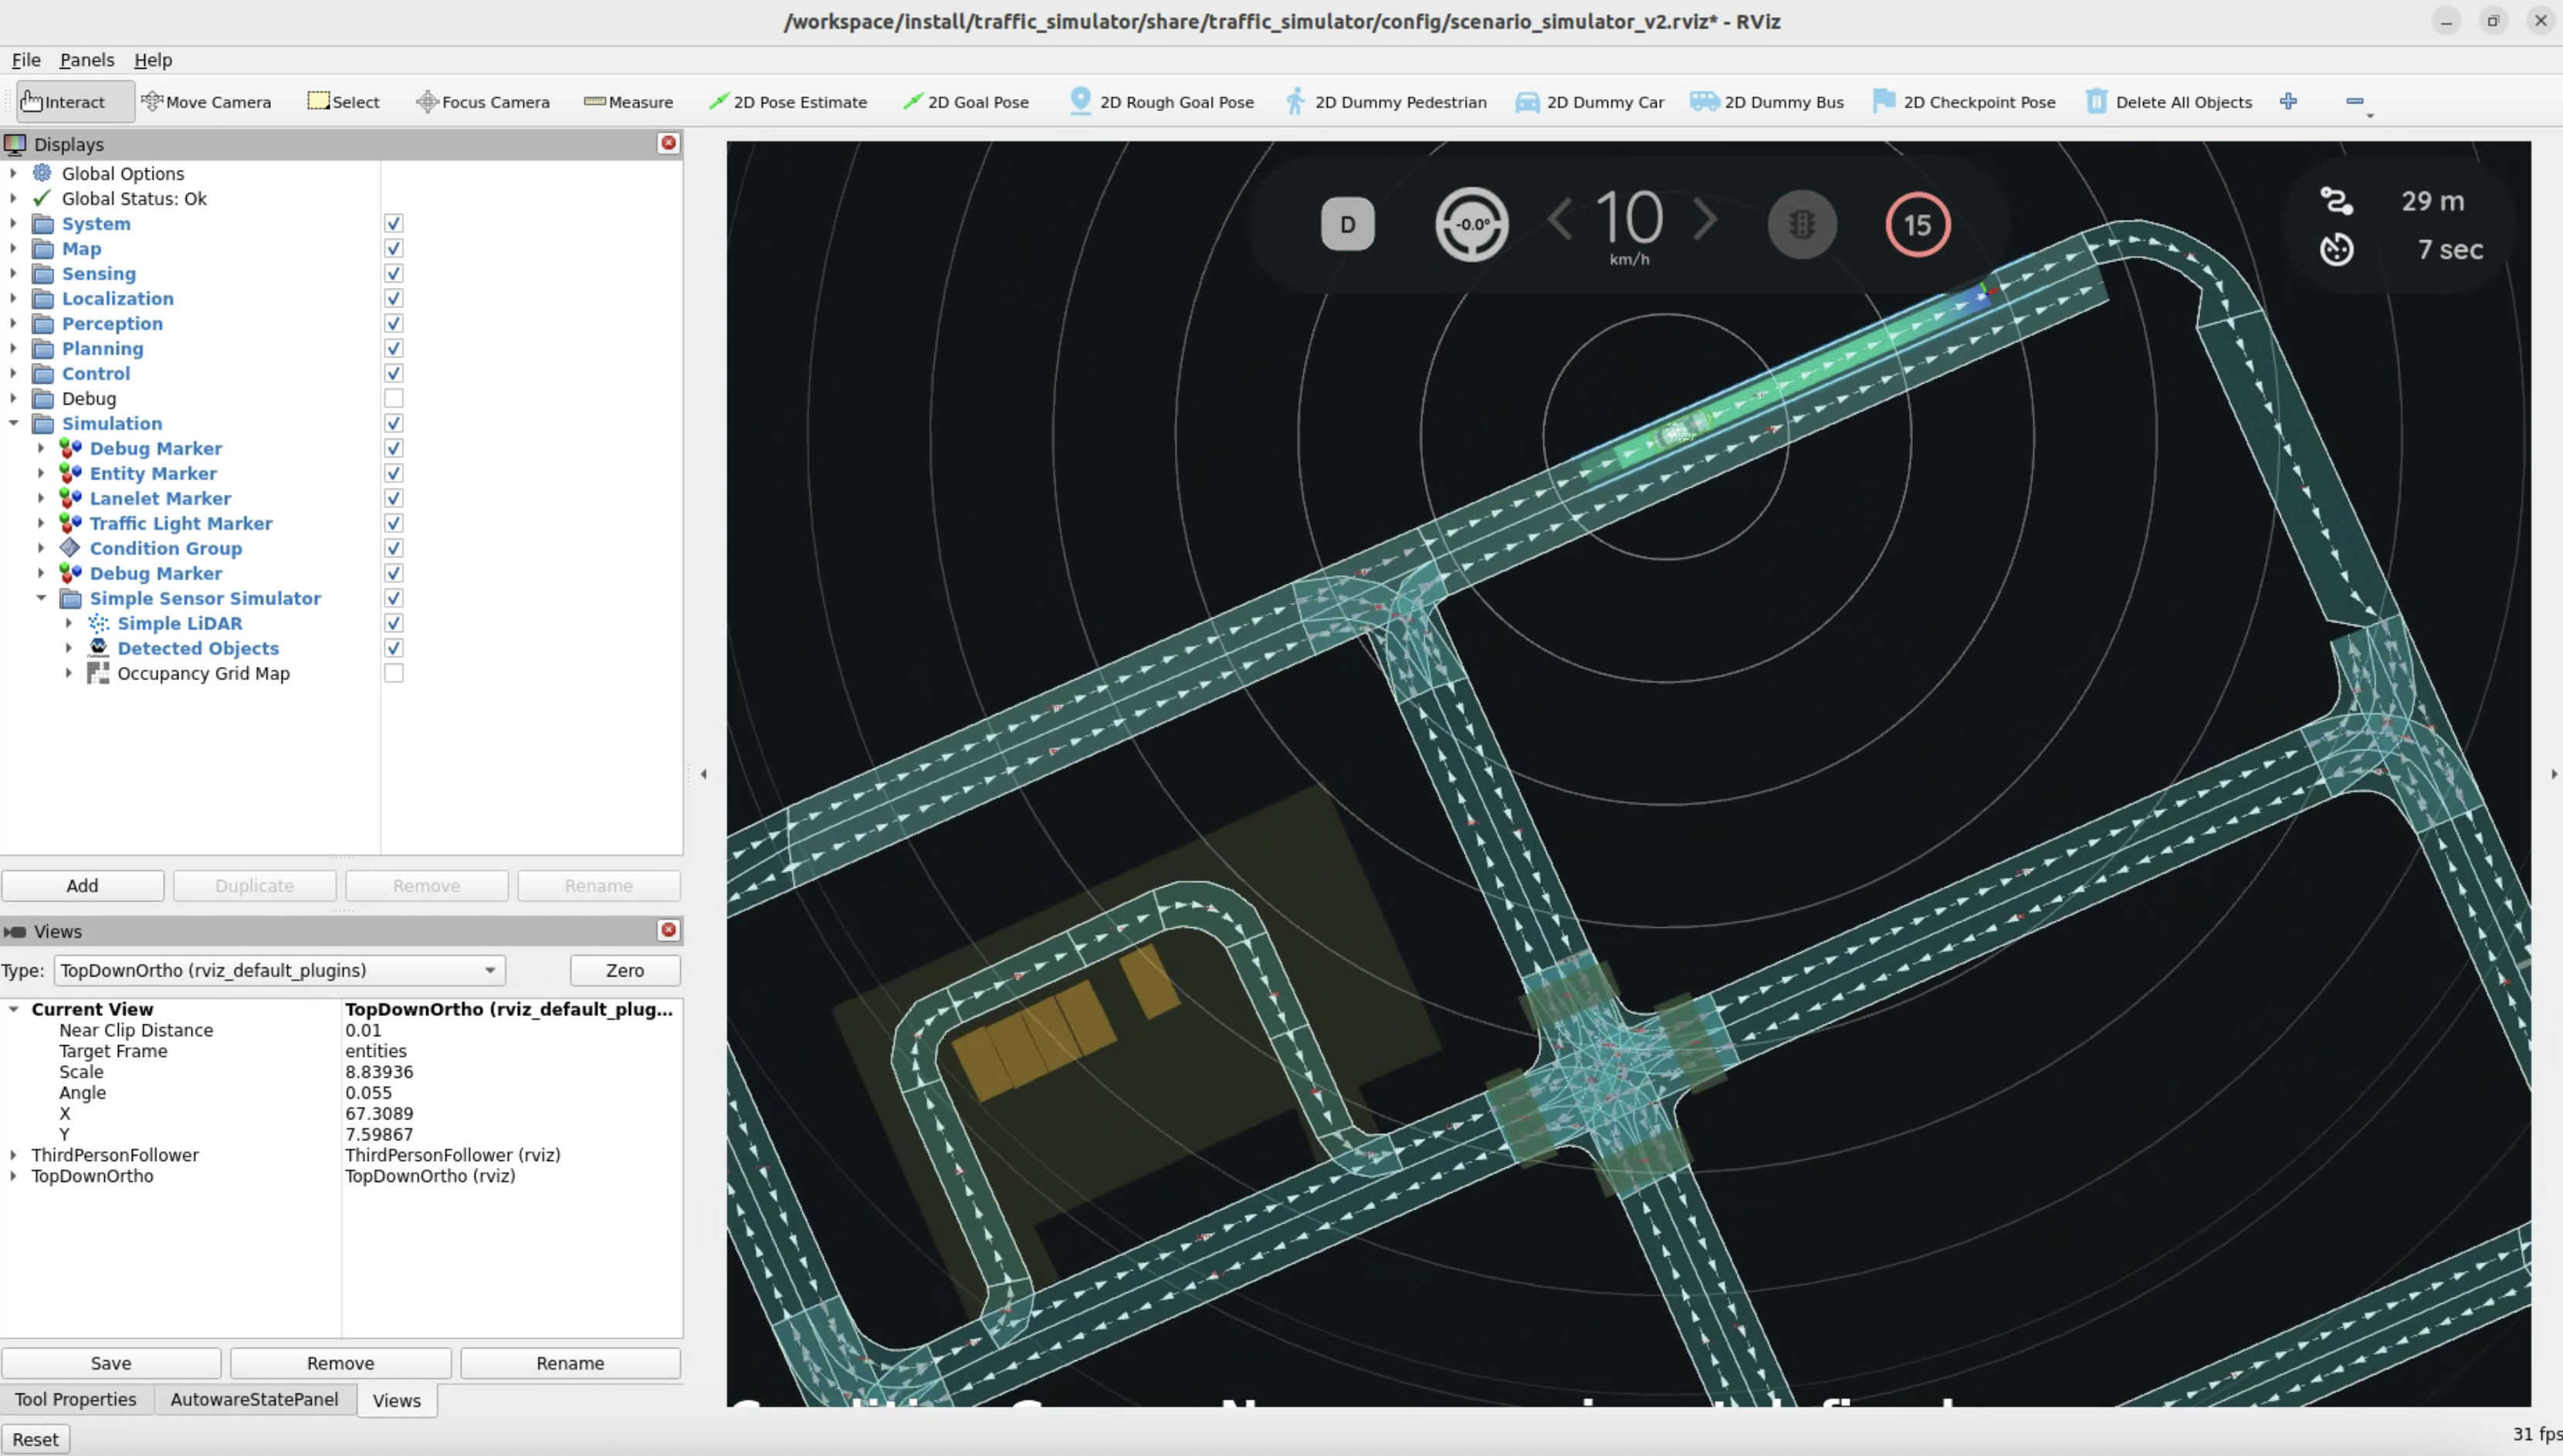
场景测试模拟 在开发环境的 /workspace 目录下,执行以下命令。
1 source install/setup.bash
1
2
3
4
5
6
ros2 launch scenario_test_runner scenario_test_runner.launch.py \false \'$(find-pkg-share scenario_test_runner)/scenario/sample.yaml' \
运行时环境 下载地图和数据 在主机上运行以下命令下载地图,请自行安装 gdown 和 unzip。
1
2
3
4
gdown -O ~/autoware_map/ 'https://docs.google.com/uc?export=download&id=1A-8BvYRX3DhSzkAnOcGWFw5T30xTlwZI' 'https://docs.google.com/uc?export=download&id=1499_nsbUbIeturZaDj7jhUownh5fvXHd'
安装 ansible,该步骤仅首次安装需要。
1 2 3 4 5 6 7 8 9 10 11 12 sudo apt-get purge ansiblesudo apt-get -y updatesudo apt-get -y install pipx"ansible==6.*"
安装 ansible collections,也是仅首次安装需要。
1
2
cd ~/autoware "ansible-galaxy-requirements.yaml"
运行 playbook 以下载和解压数据。
1 ansible-playbook autoware.dev_env.download_artifacts -e "data_dir=$HOME /autoware_data" --ask-become-pass
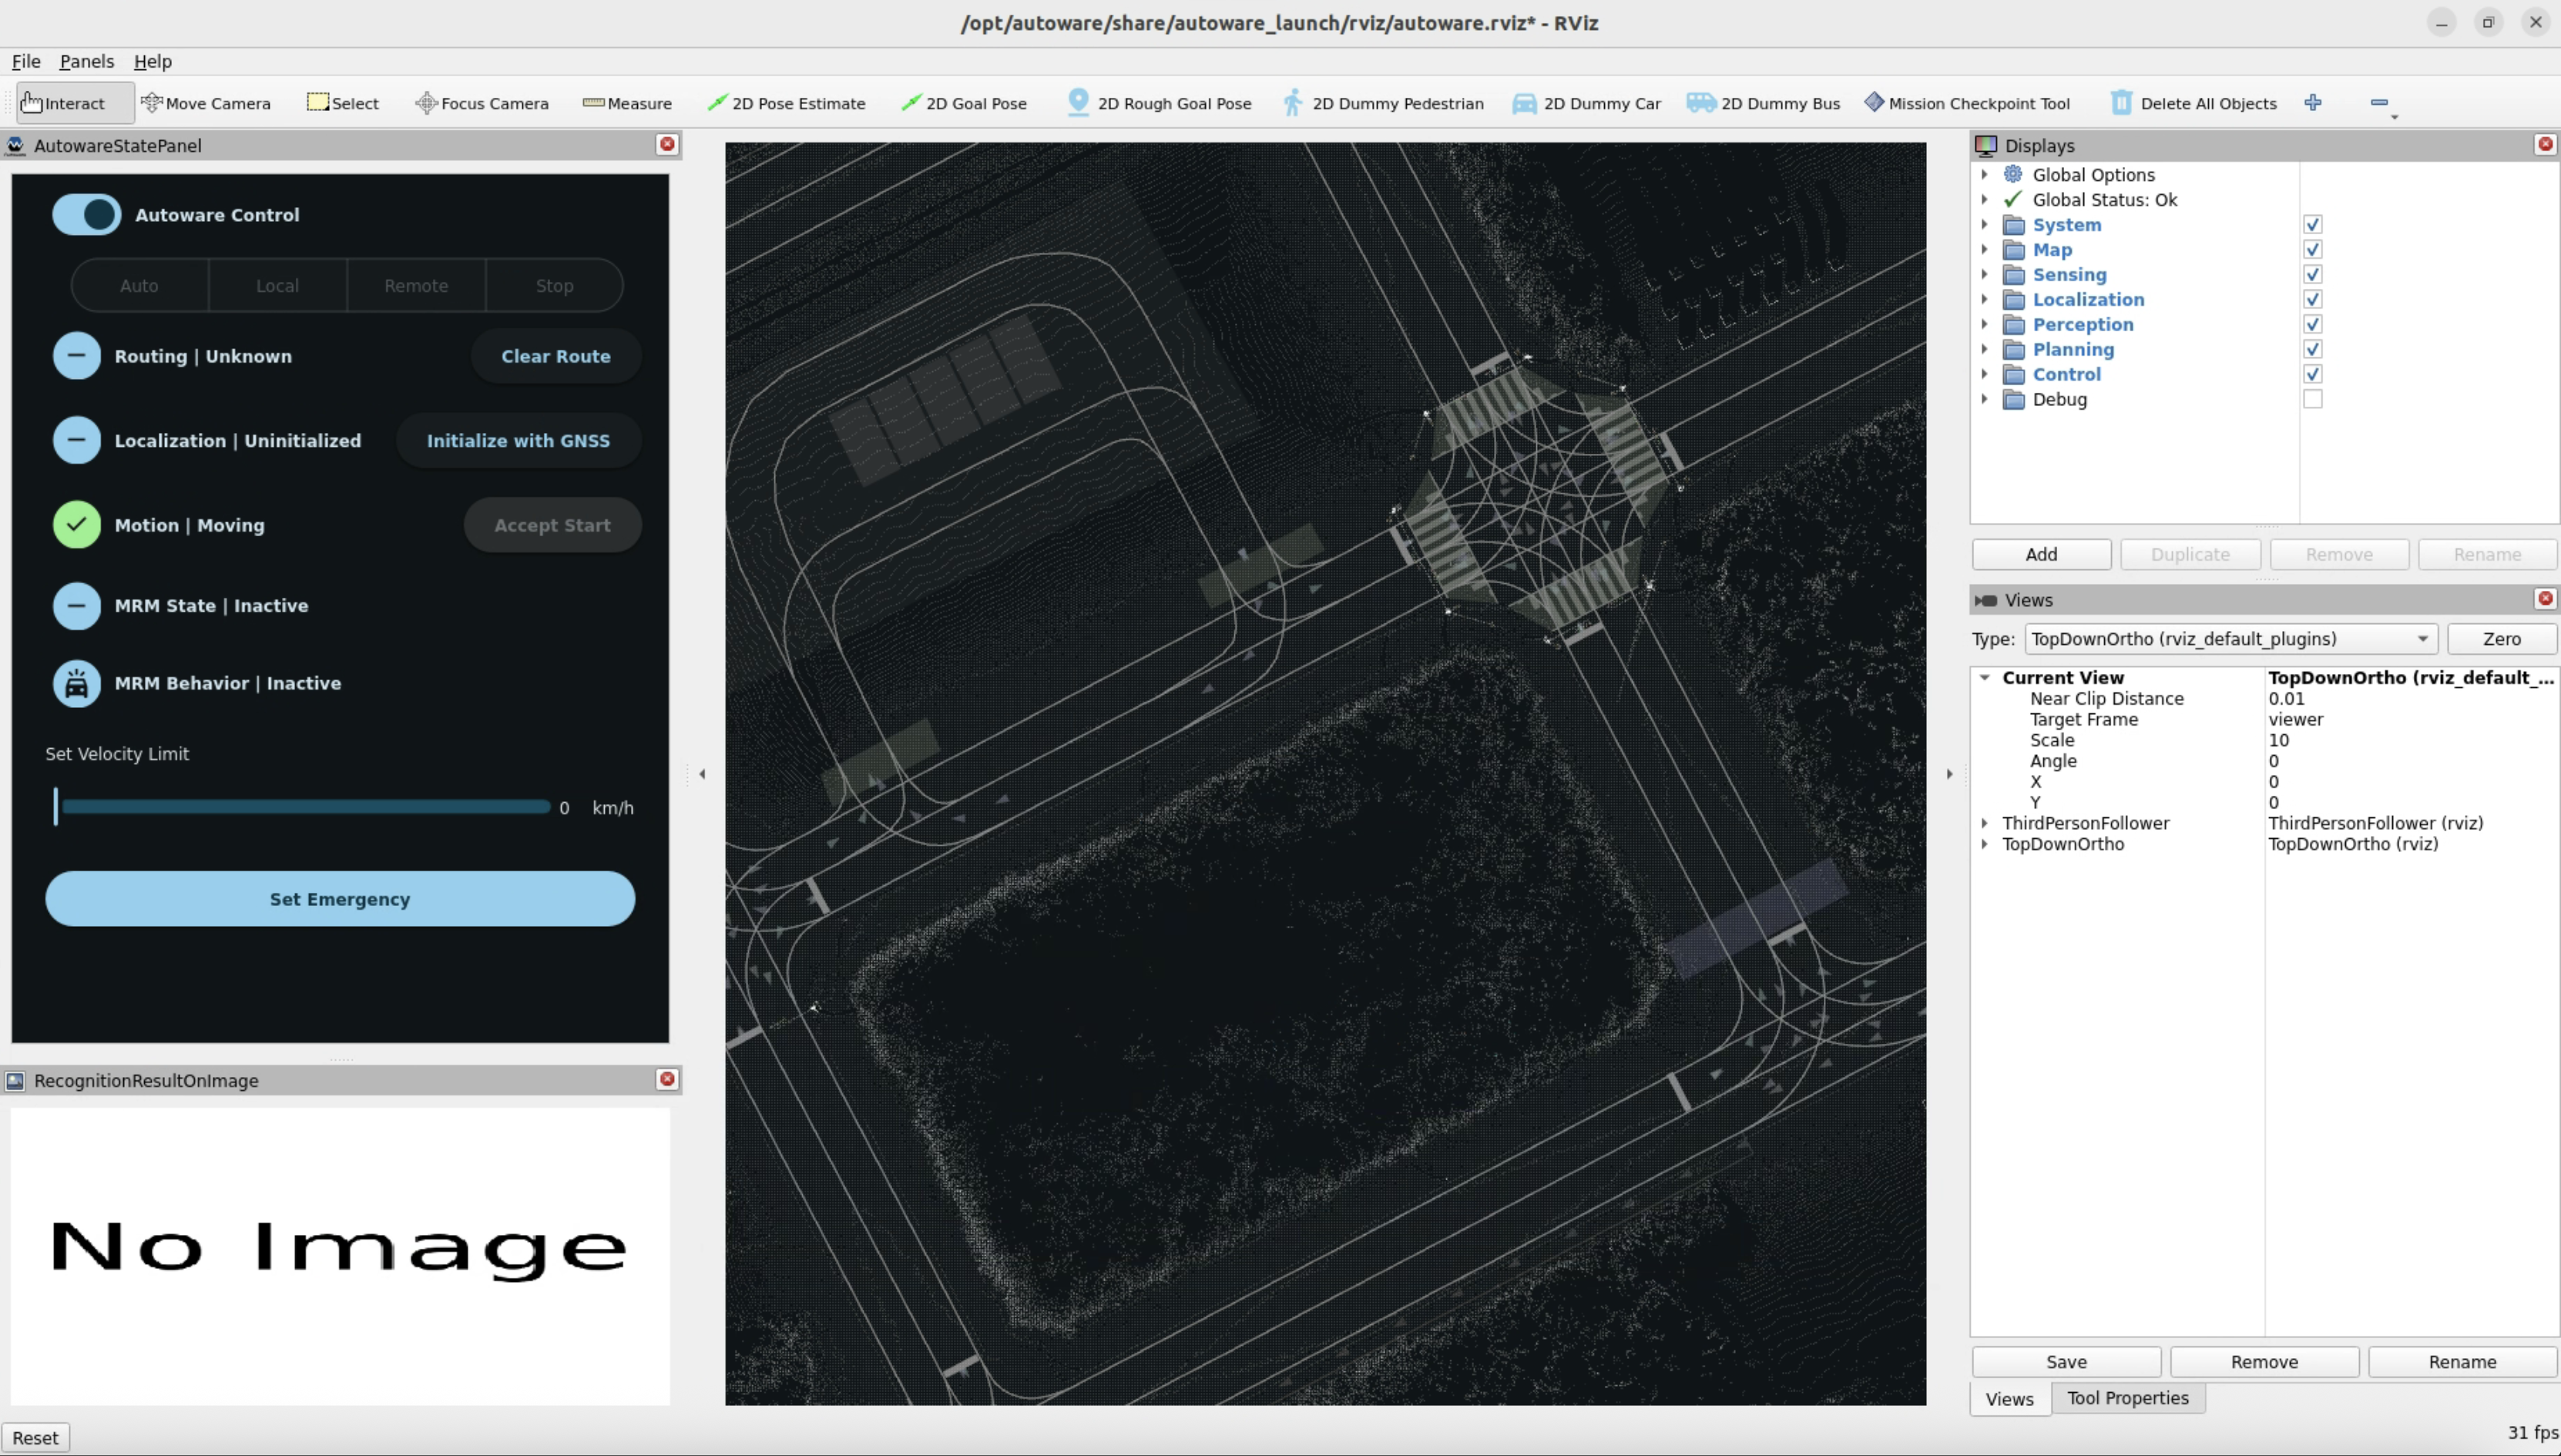
启动运行时容器 1 ./docker/run.sh --map-path ~/autoware_map/sample-map-planning --data-path ~/autoware_data ros2 launch autoware_launch planning_simulator.launch.xml map_path:=/autoware_map vehicle_model:=sample_vehicle sensor_model:=sample_sensor_kit
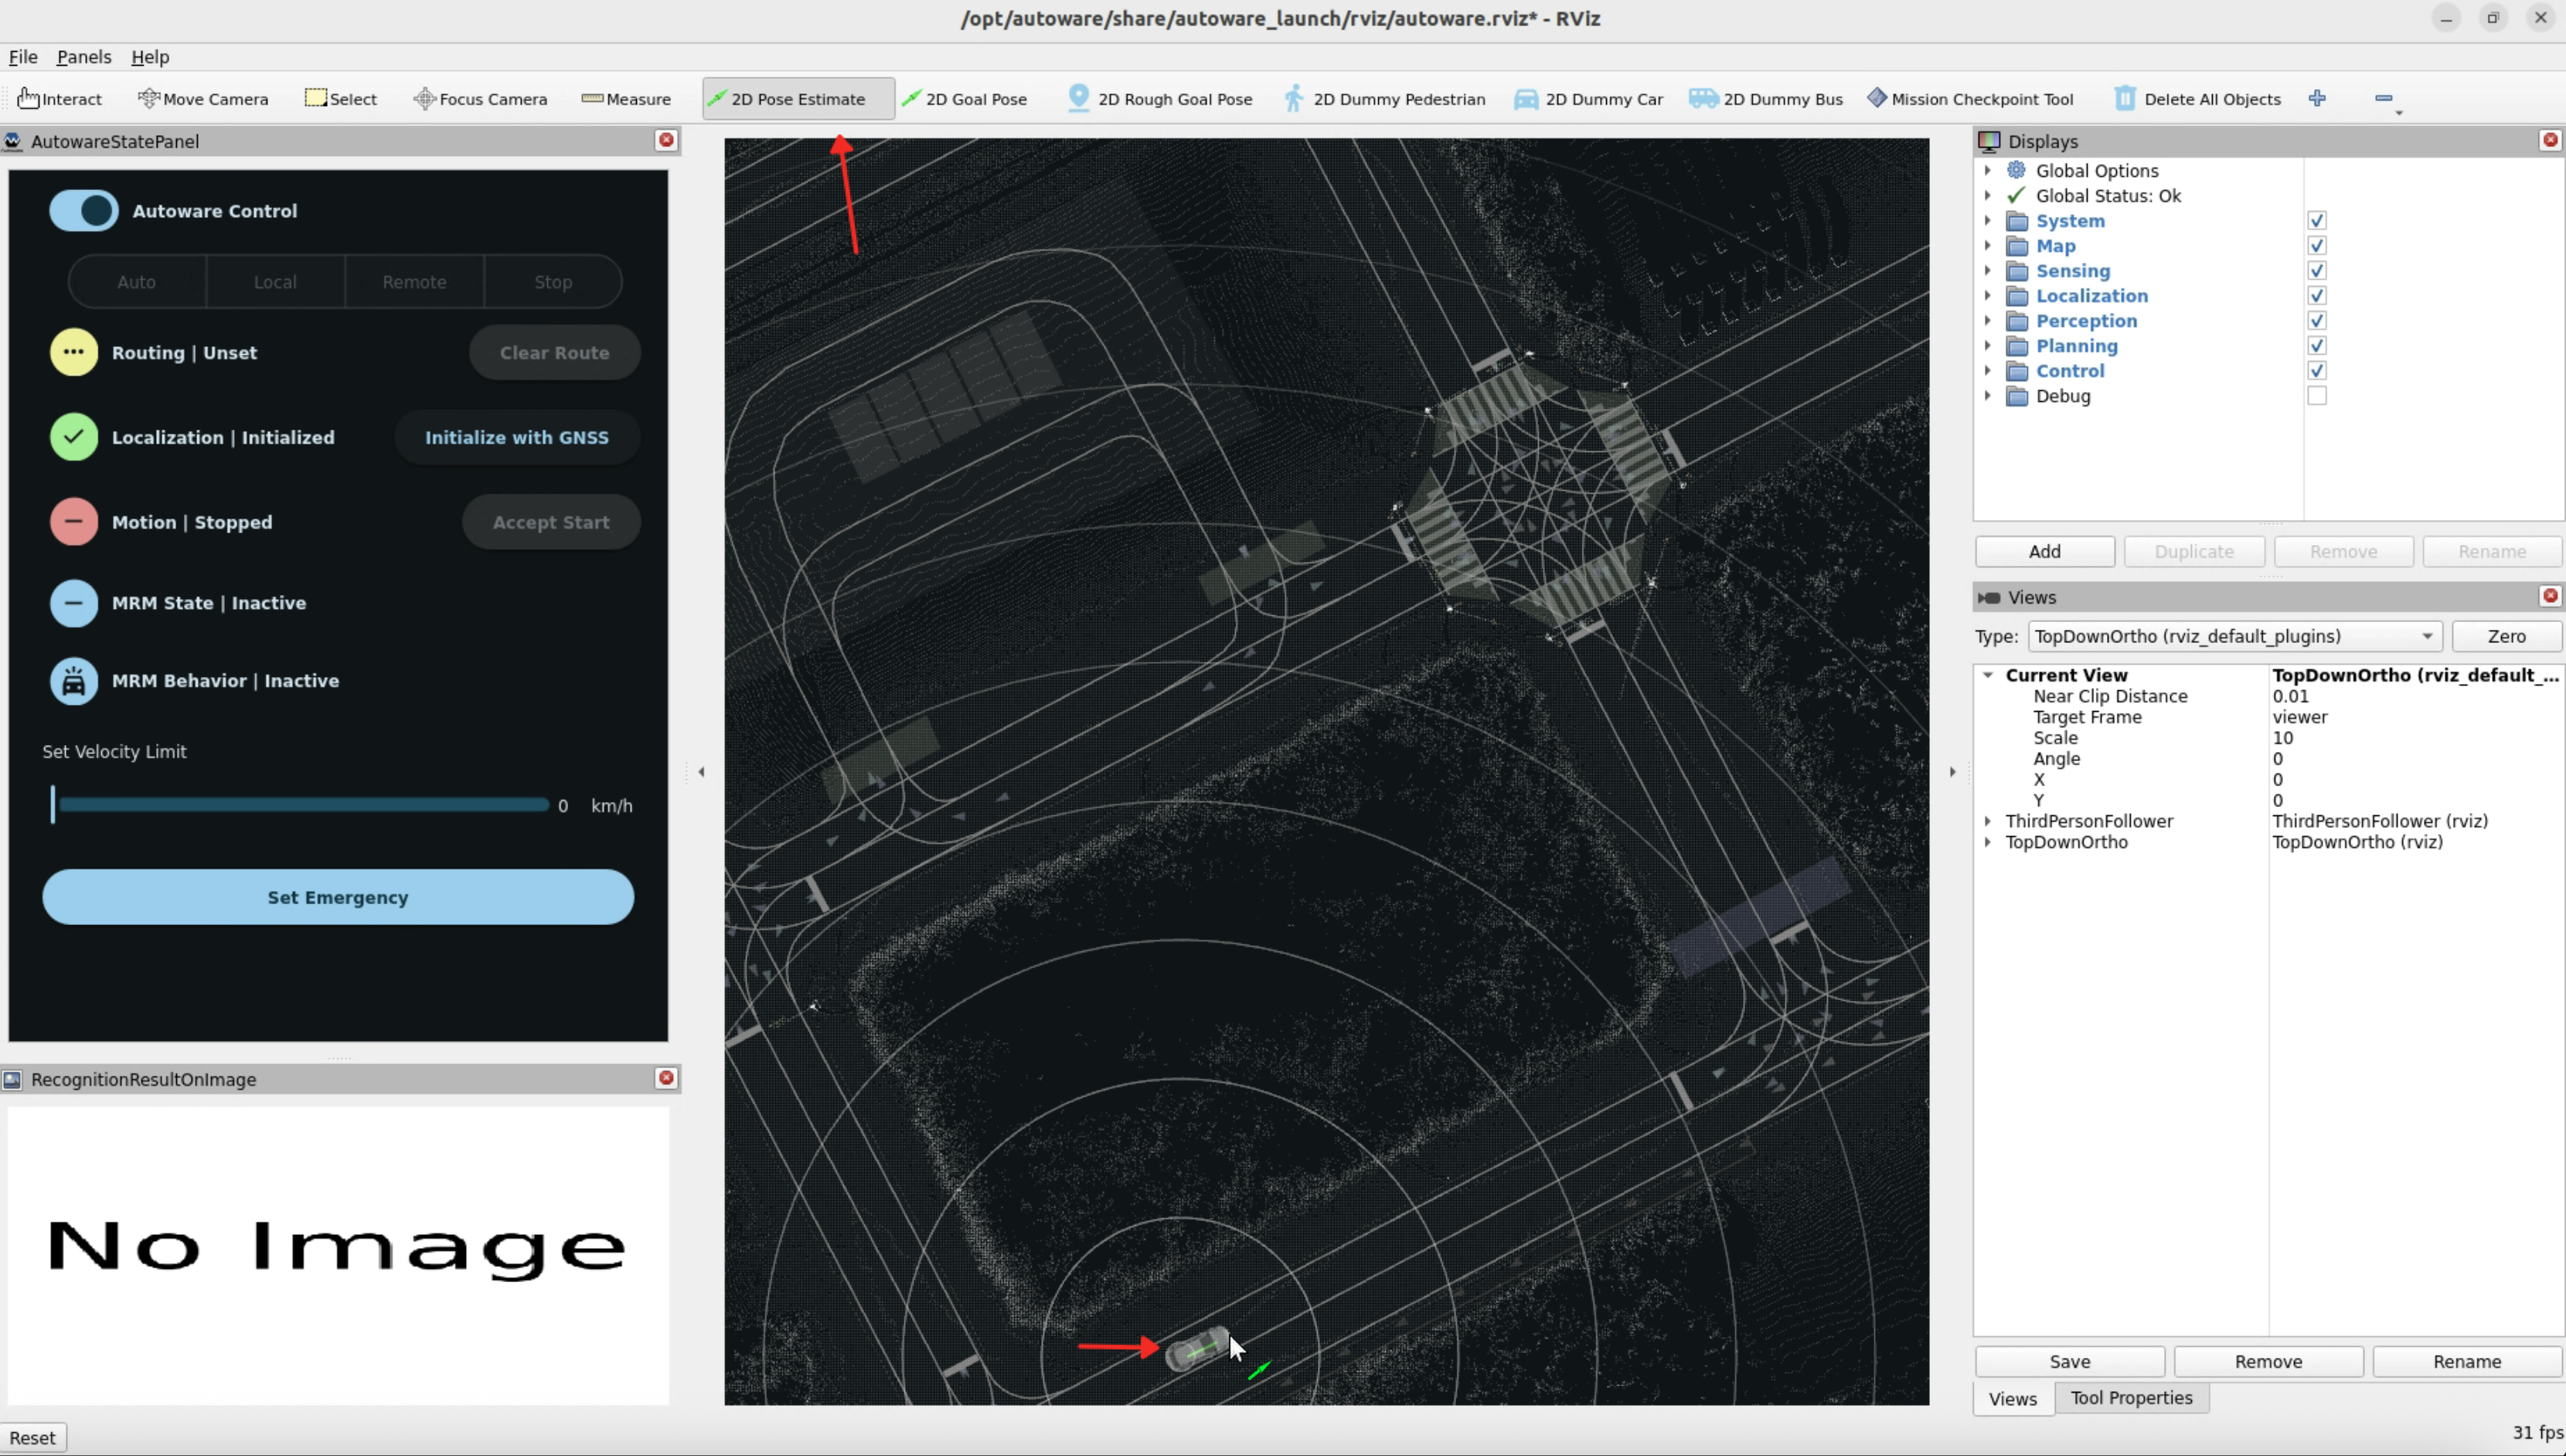
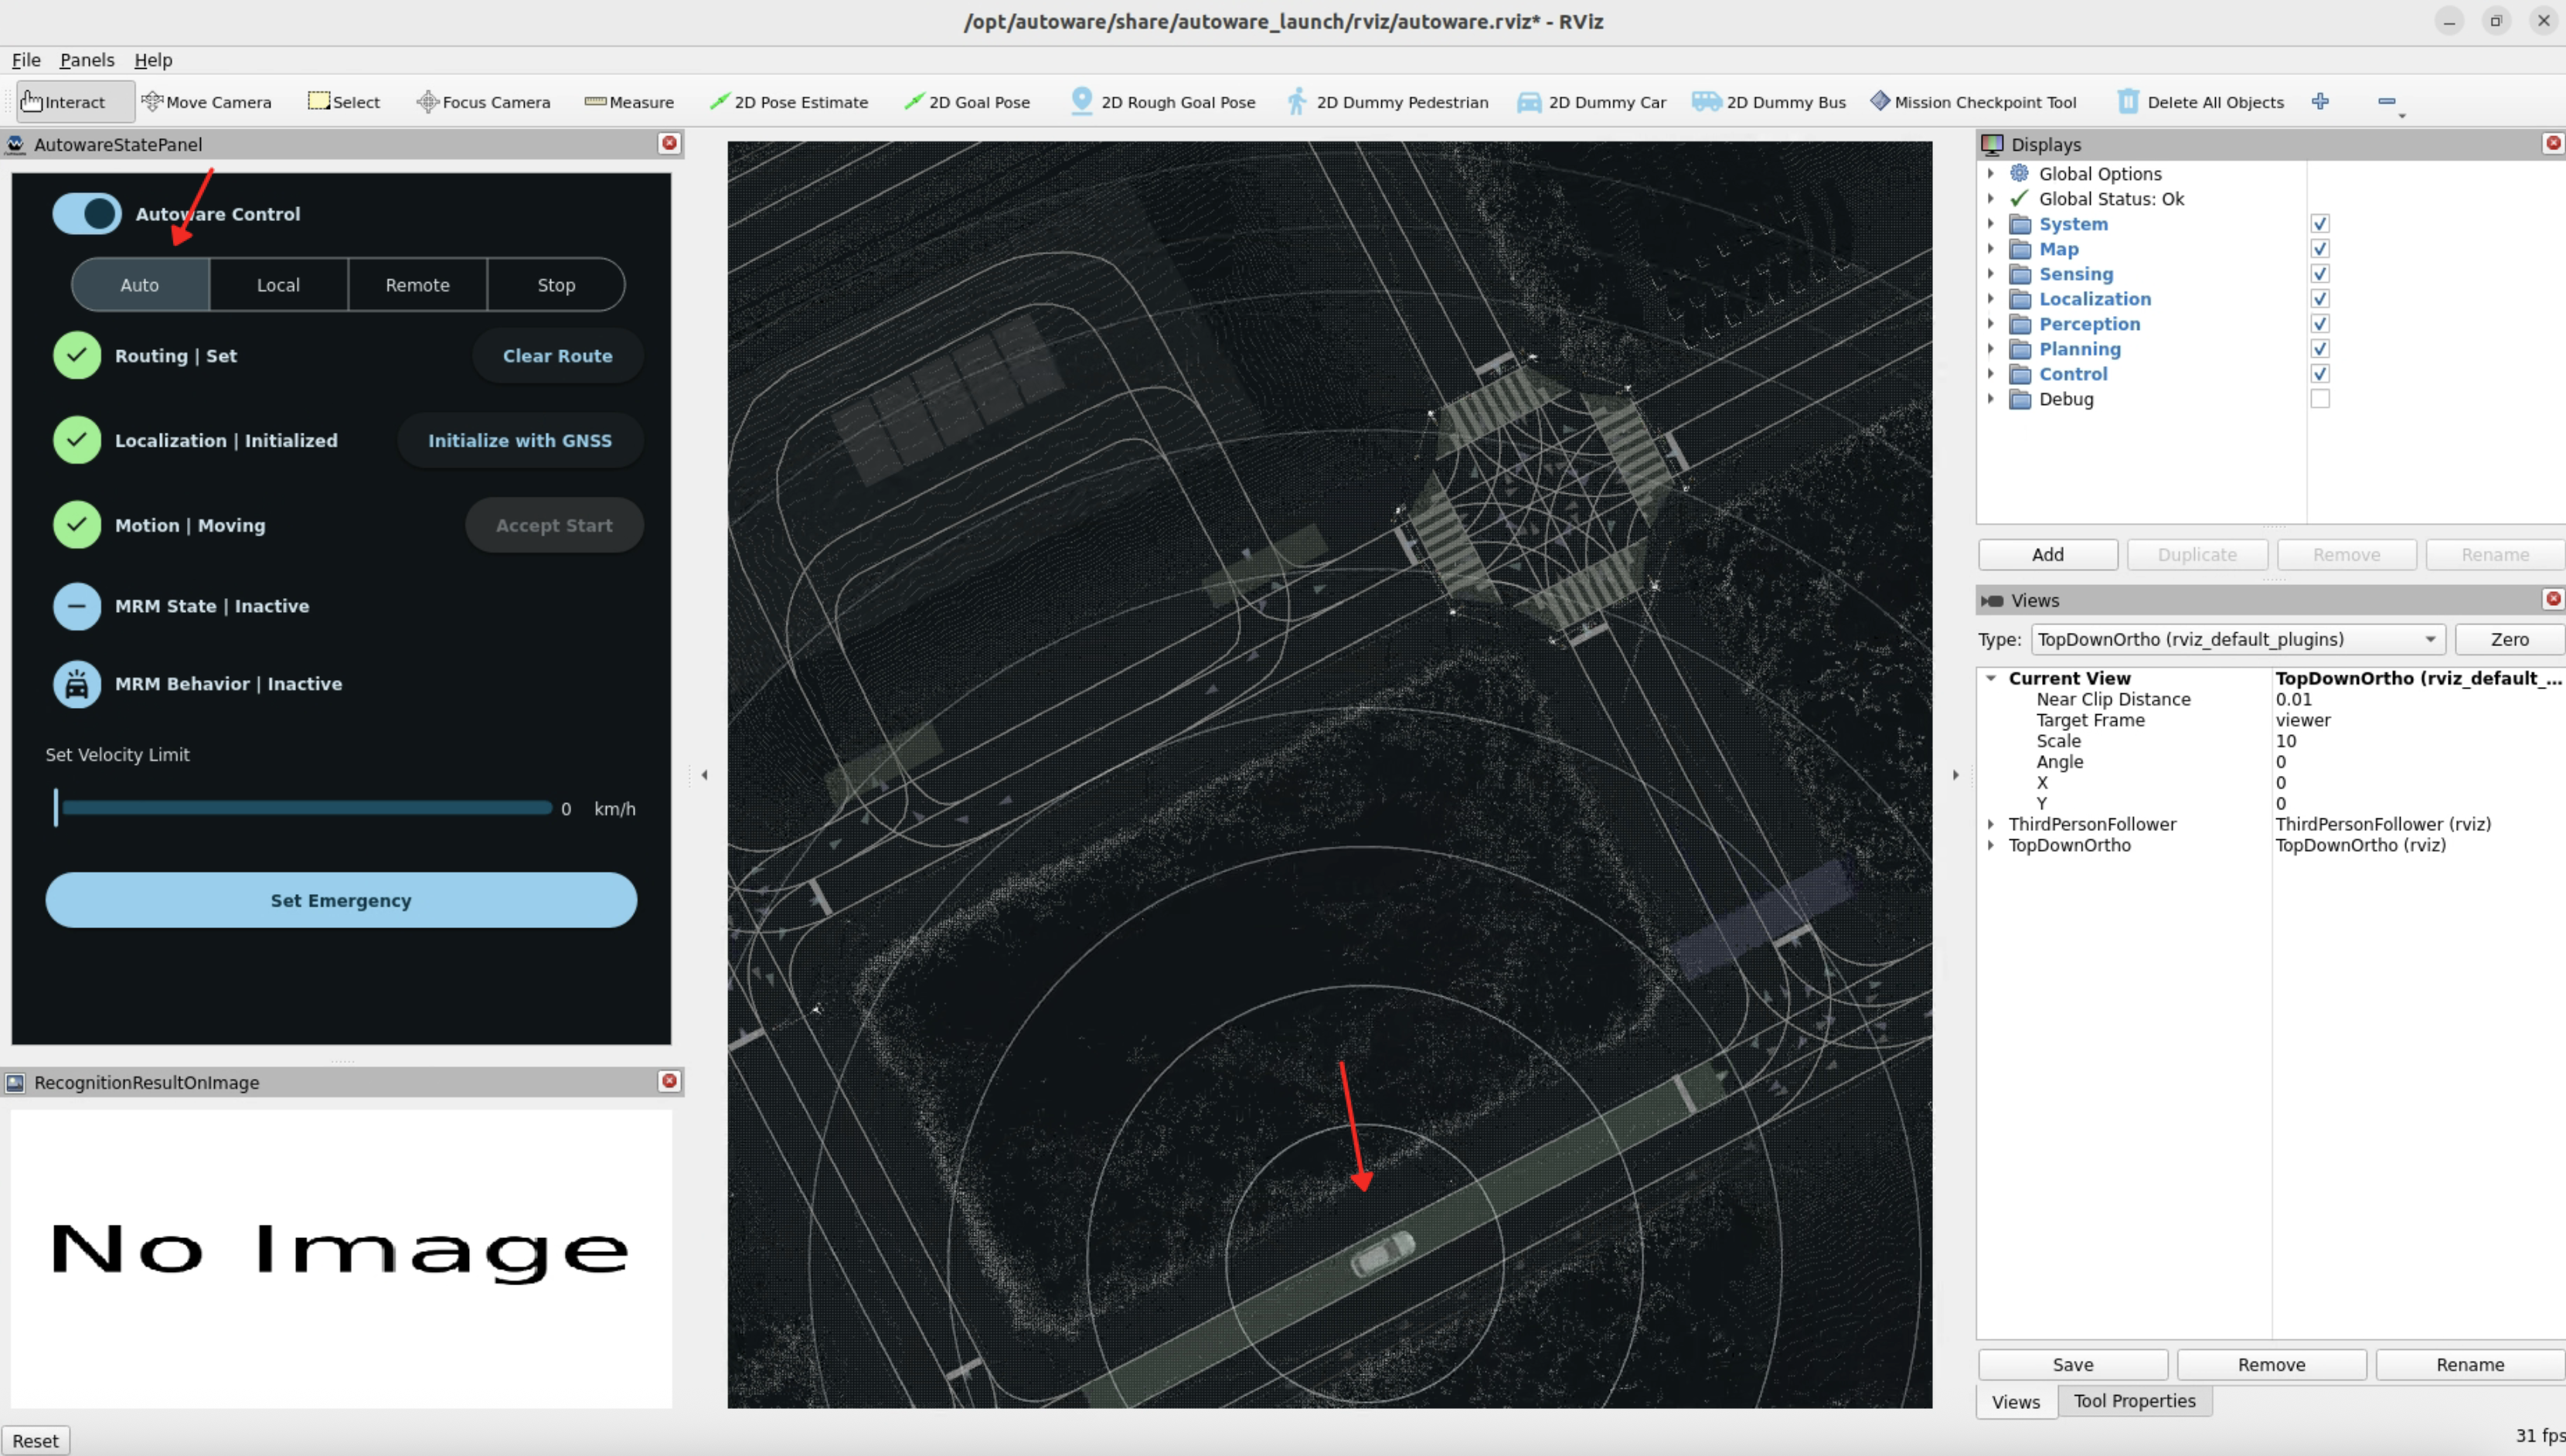
手动路径规划和测试 启动运行时容器后,选择 2D Pose Estimation 工具,点击并拖拽设置起点。
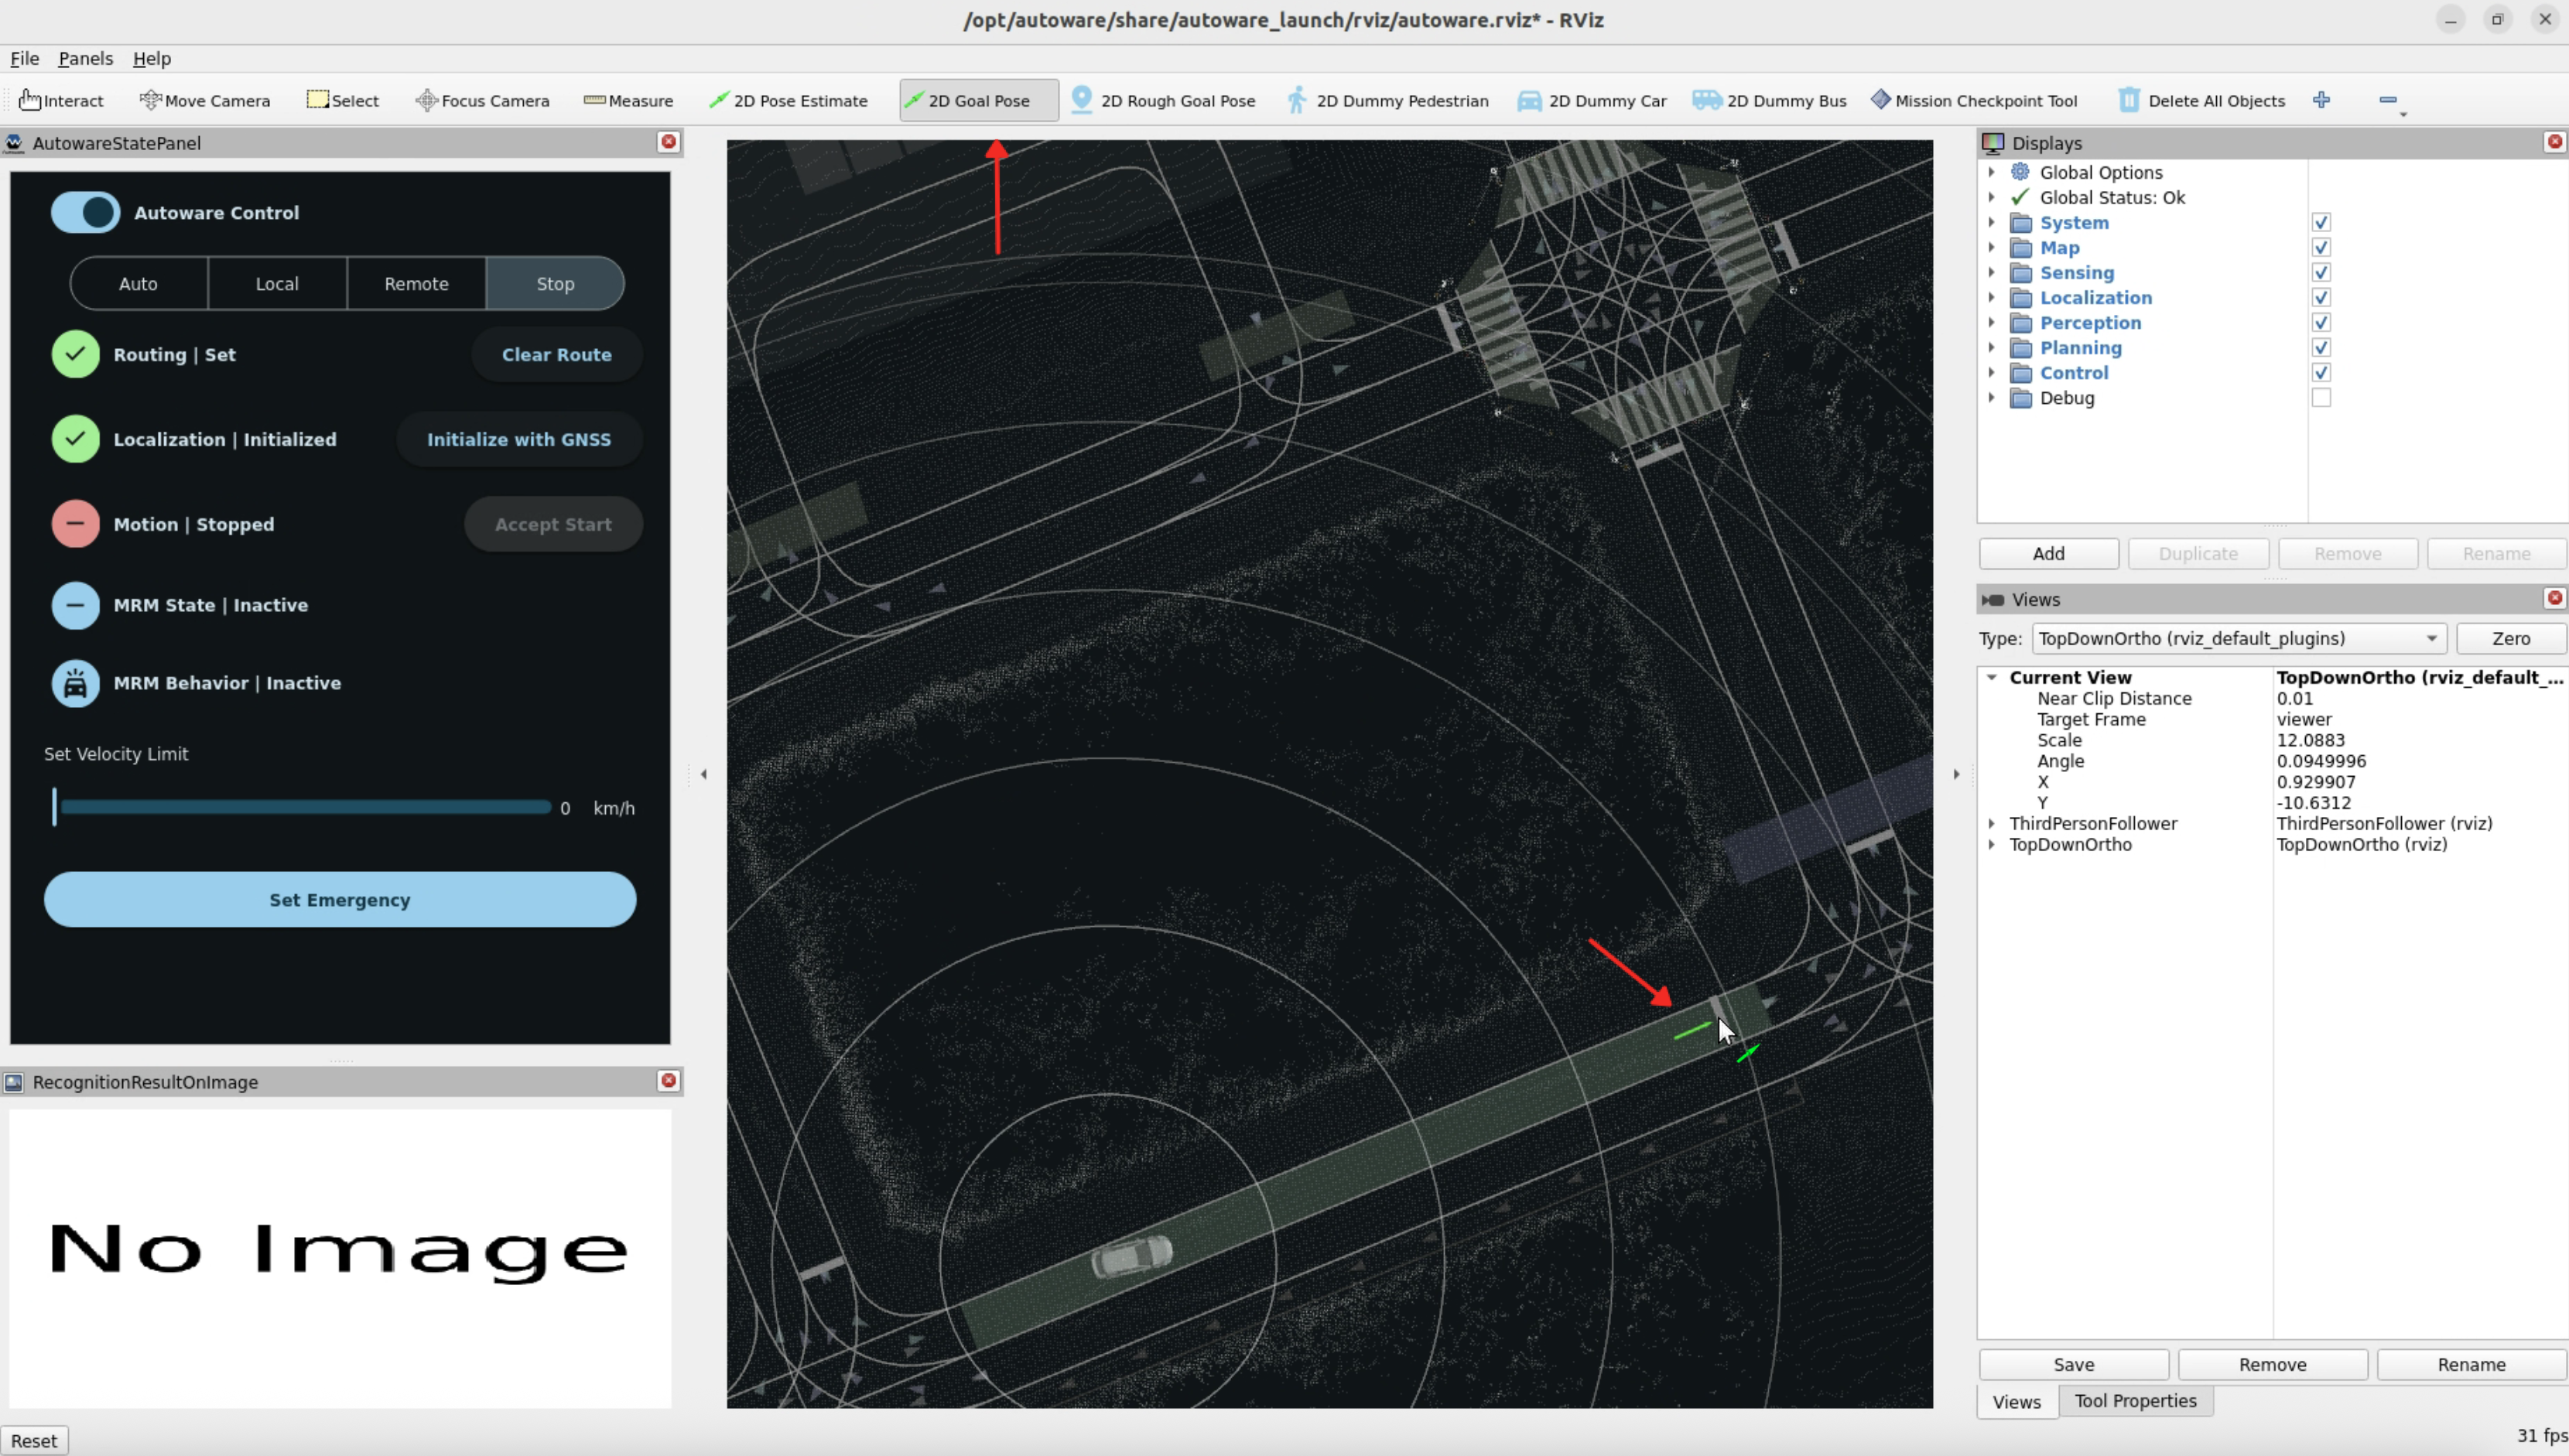
选择 2D Goal Pose 工具,点击并拖拽设置终点。
点击 Auto,车辆会自动运行至终点。